In DaVinci Resolve there are several different curves that we can use to change the look of the image.
Using color curves creatively
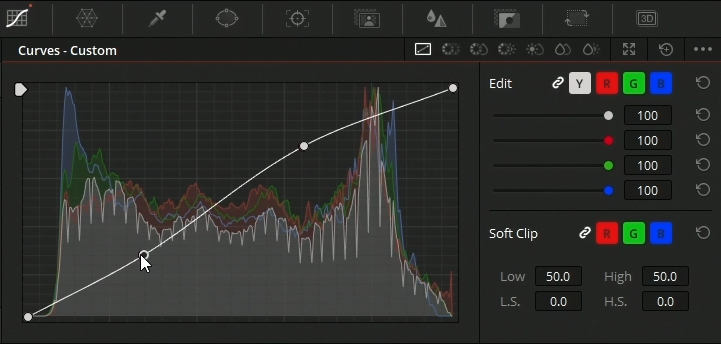
If you explored curves before you’ve probably seen these normal RGB curves where we have the ability to change Y R G & B. These are typically good for changing the overall brightness of the image as well as off-set a channel to add in color shifts.
We can go a step further and focus on vs curves. These curves are rather unique as they allow you to select a hue saturation or brightness value and adjust either the Hue saturation or brightness values of your selection. At first this might sound a little confusing but let me explain as this is extremely powerful.
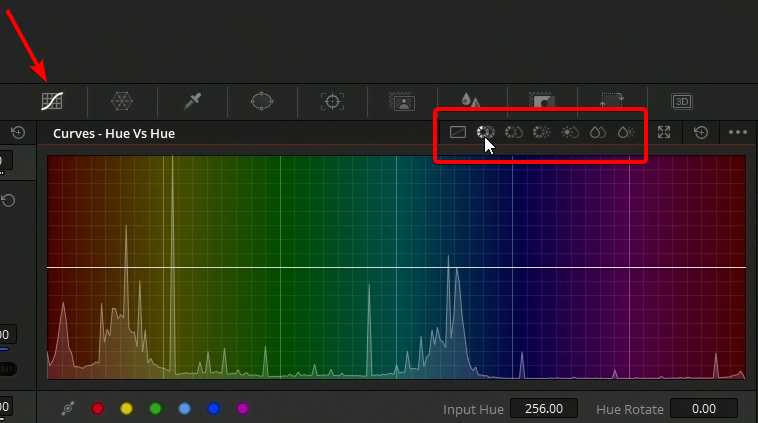
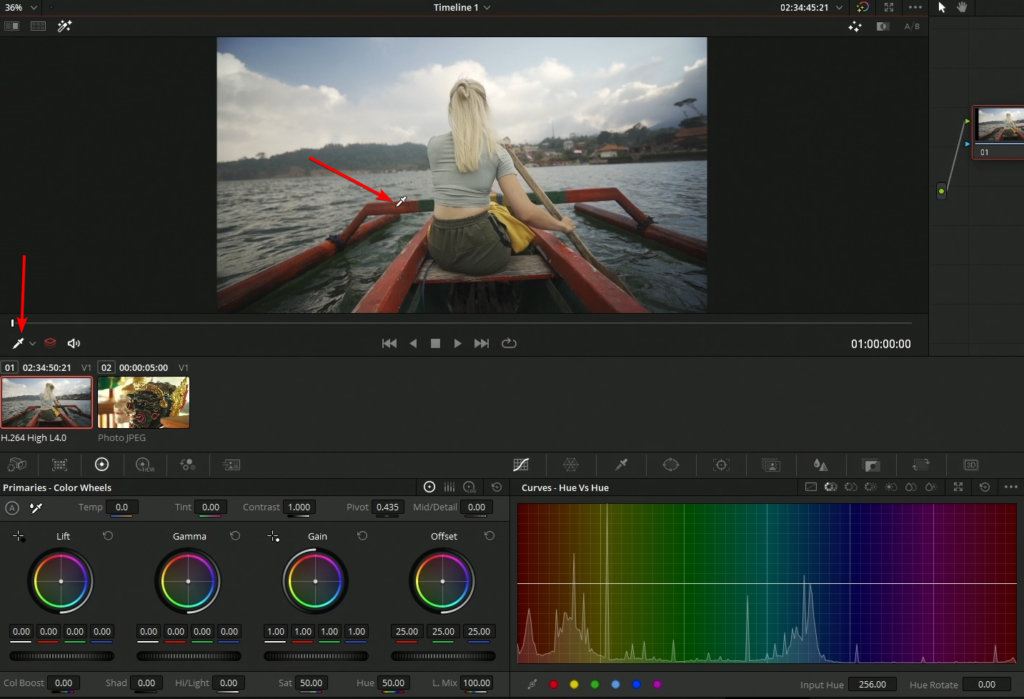
The first one I will be working with here is hue vs hue, now that might be a little confusing as to what that means but let me explain. Each verse curve has a selection which is the first word and then vs and the thing we will be changing. The first one we will be going over is hue vs hue. We will be selecting a color and then we will be changing our selection color. We can use the qualifier eyedropper to pick our selection.
Once we click, we’ll see 3 dots appear and will see the main selection which is the active point on the curves and we’ll see a point to the left and to the right of the color selected, this allows us to pick a range of in this case reds and not affect the rest of the curve.
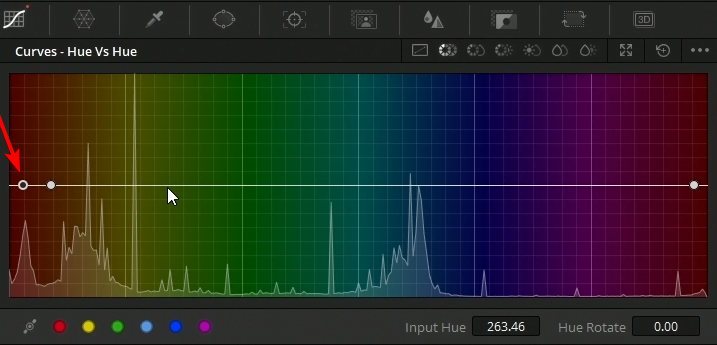
We can move these points anytime but let’s just focus on the center point. Moving the center point up and down within the curves will shift the color we first picked.
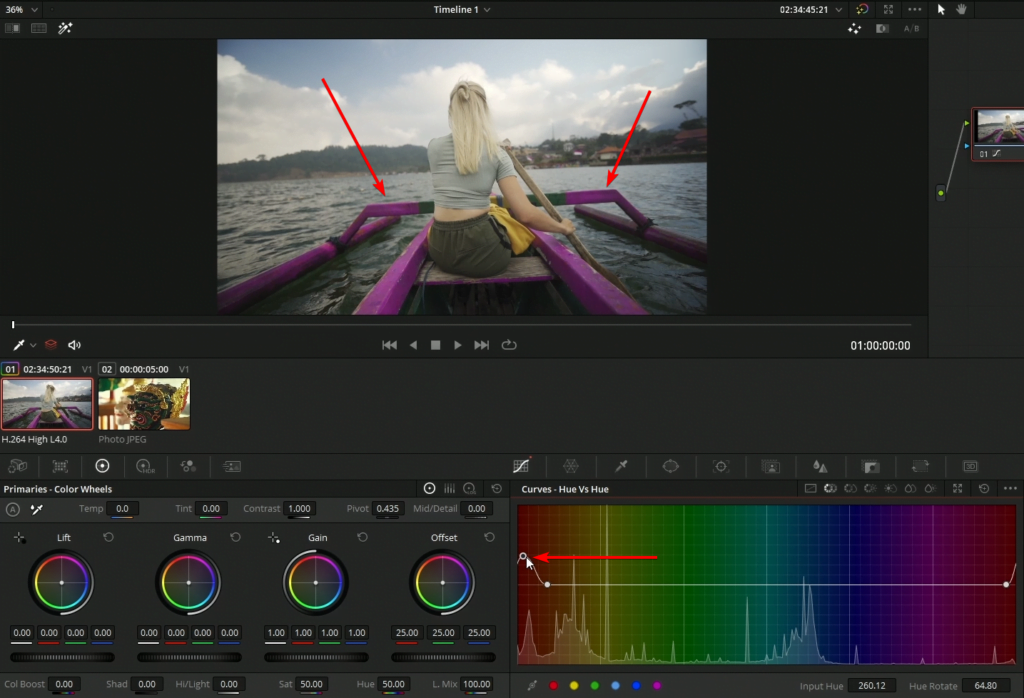
When we make an adjustment with these curves it’s going to adjust everything that is similar to our initial selection, this will sometimes result in items throughout the scene also being adjusted that we might not want to have adjustments applied to. We can mask the area that we want our adjustments to be affected in by using a window.
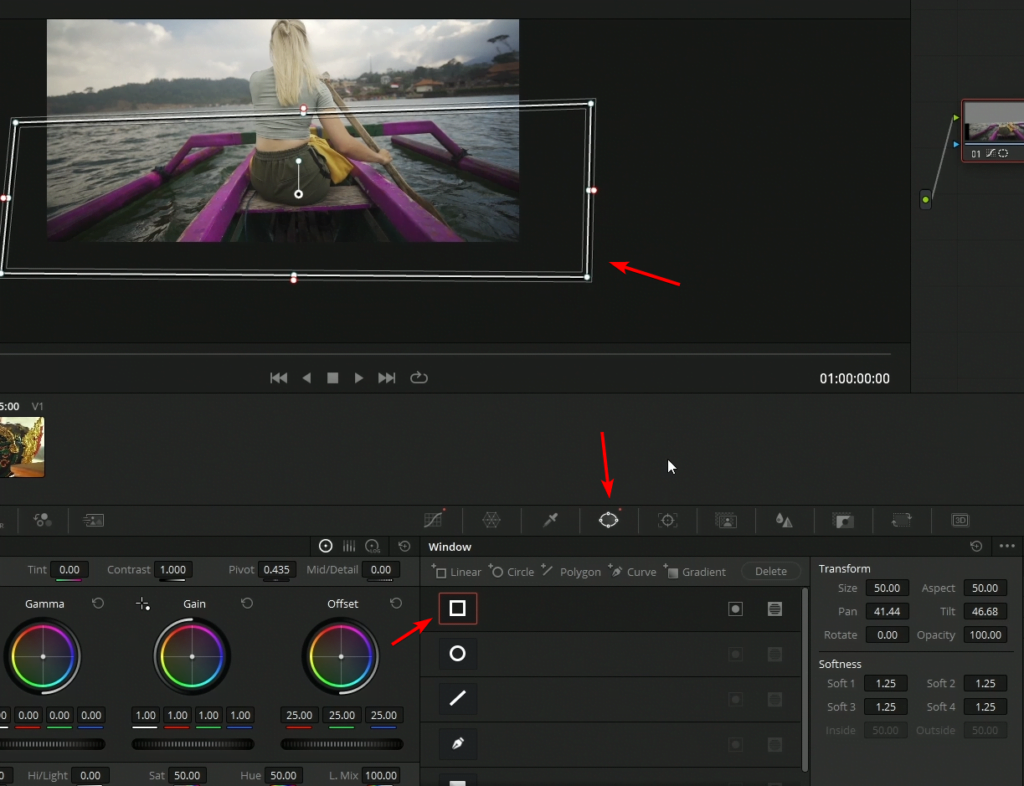
For now for this demonstration I’ll just remove the window I just wanted to show you that it was an option.
I’m next going to shift the blue in the sky just a little bit.
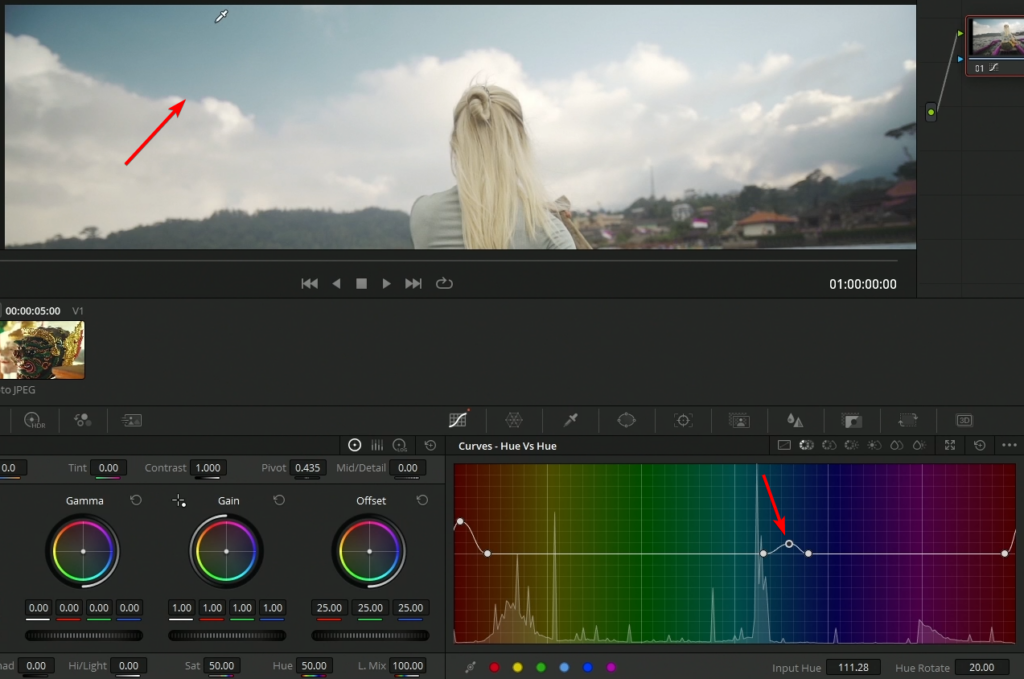
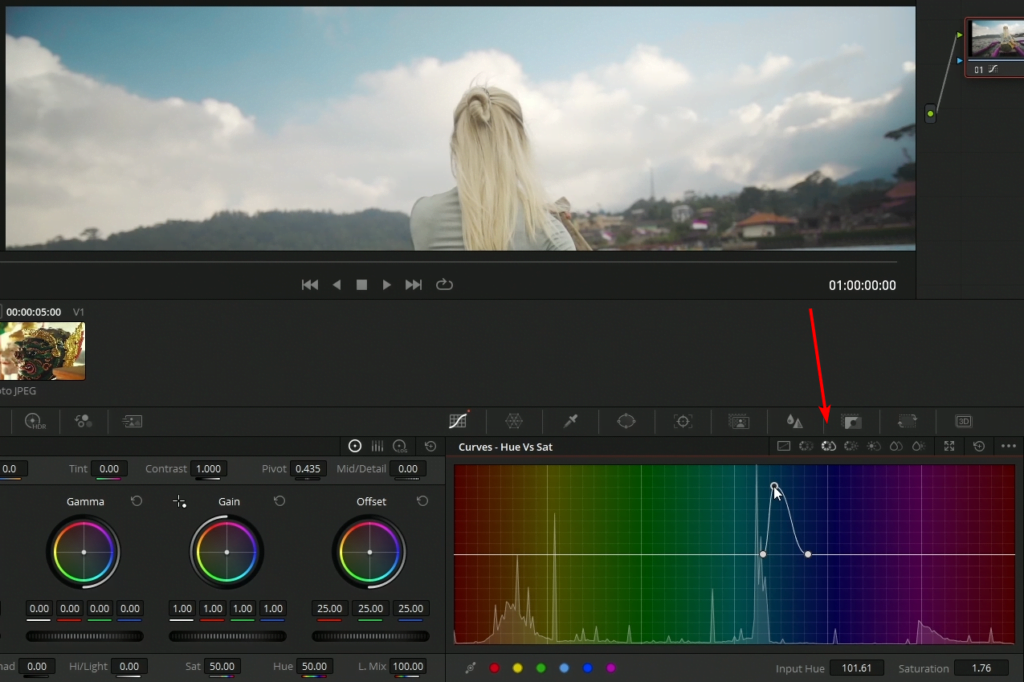
After shifting the sky to teal there isn’t a ton of saturation in the sky. We will shift over to hue vs sat. Hue vs sat will enable us to pick a color and change its saturation.
Fixing problems with curves
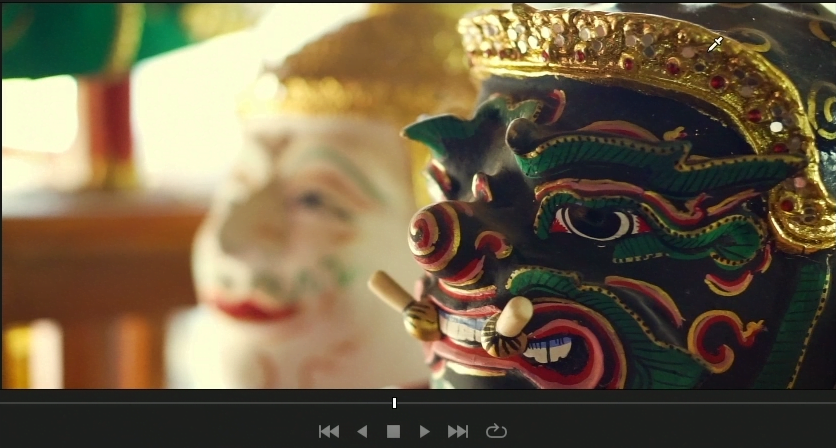
The colors in this shot do not pop and aren’t rich
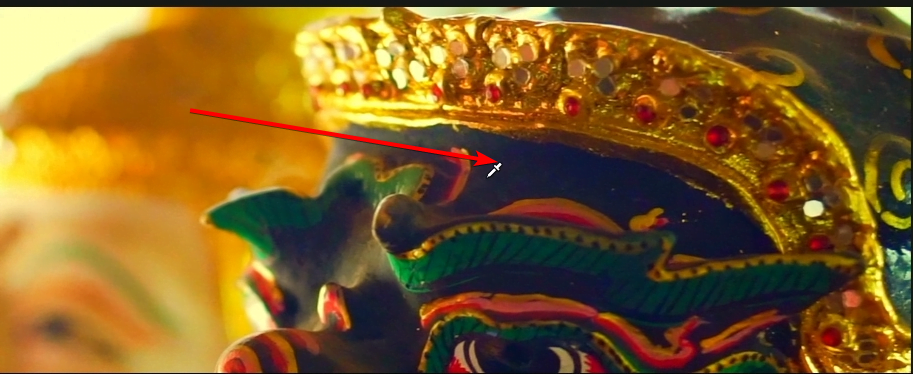
I’m overdoing it here but applying saturation we can see that we are having a few issues in the blacks revealing a purple bluish tone.
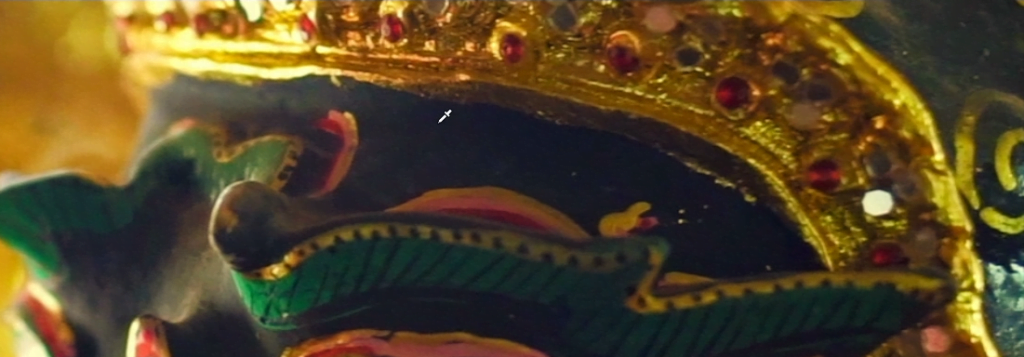
We can use the lum vs sat curves to fix this color cast that’s present in the blacks.
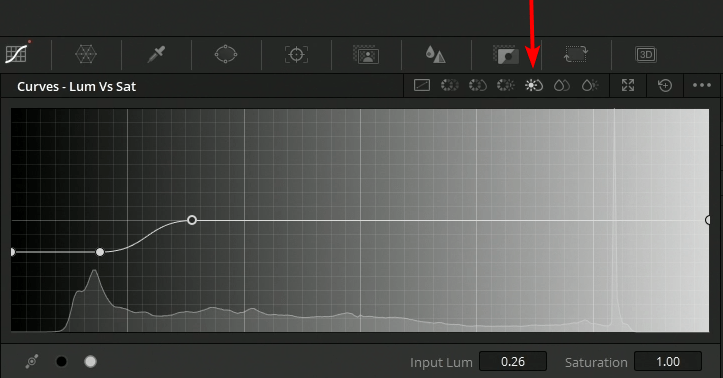
We are selecting a luminance value also known as a brightness value and reducing its saturation to pull back some of that color cast
There’s a lot of different ways that we can use the vs curves creatively as well as to fix problem areas without a lot of additional steps or nodes to achieve the same end result.


