Building a text animation to show a conversation between two characters on screen.
To begin we’re first going to throw everything on our timeline. One little thing that I would recommend doing before you actually jumping into the Fusion page, is getting some audio cues. I’m actually going to go over to epidemic sound to get the sound fx for this project.
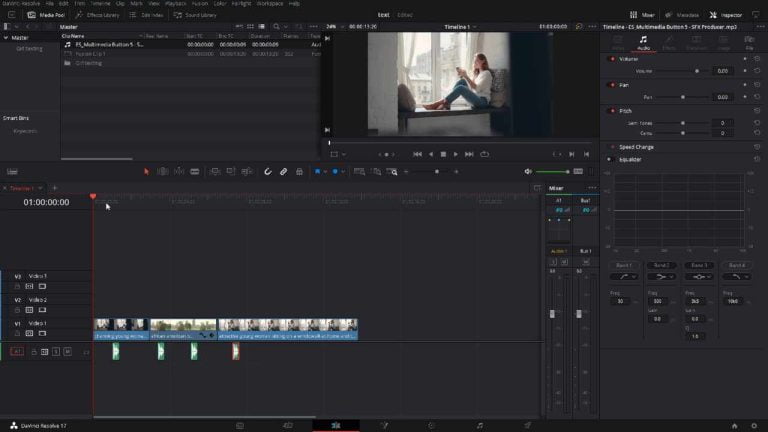
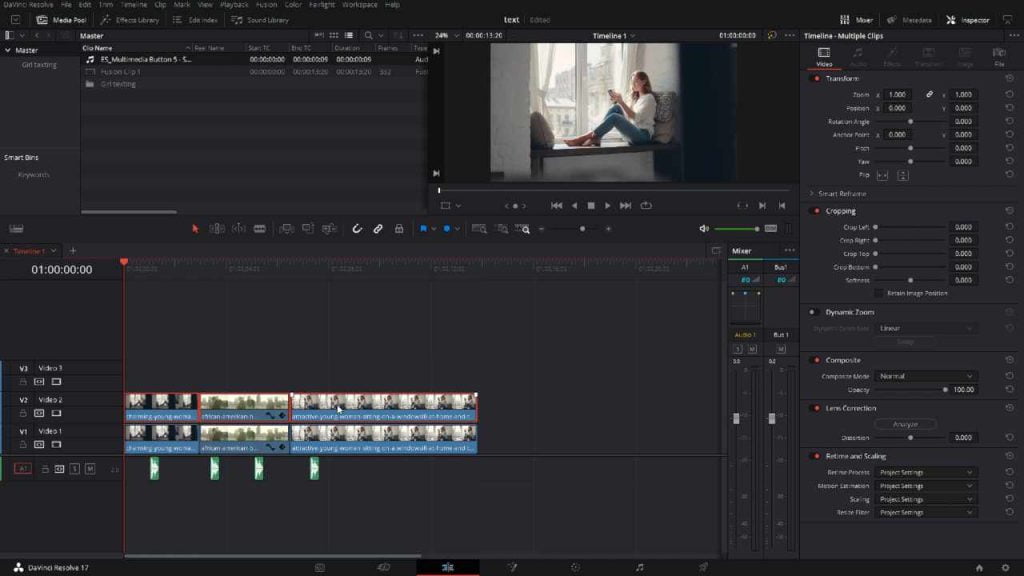
Next, we’re going to select all the video tracks we’re going to use as a reference for this animation, then we’re going to hold down alt and we’re just going to drag up to another video track and the reason why we’re doing this is that we’re going to turn this into what is referred to by right-clicking a new fusion clip. This will enable us to make this whole animation and have the animation on a separate video track. Anytime we have to add any type of color work to our background footage we can do that without affecting these particular animations and then once we do that we’re now going to jump into fusion.
Once we’re in fusion, one thing that I like to do is go up to clips, we’re gonna click on that and we’re gonna make sure that we’re actually on the fusion clip.

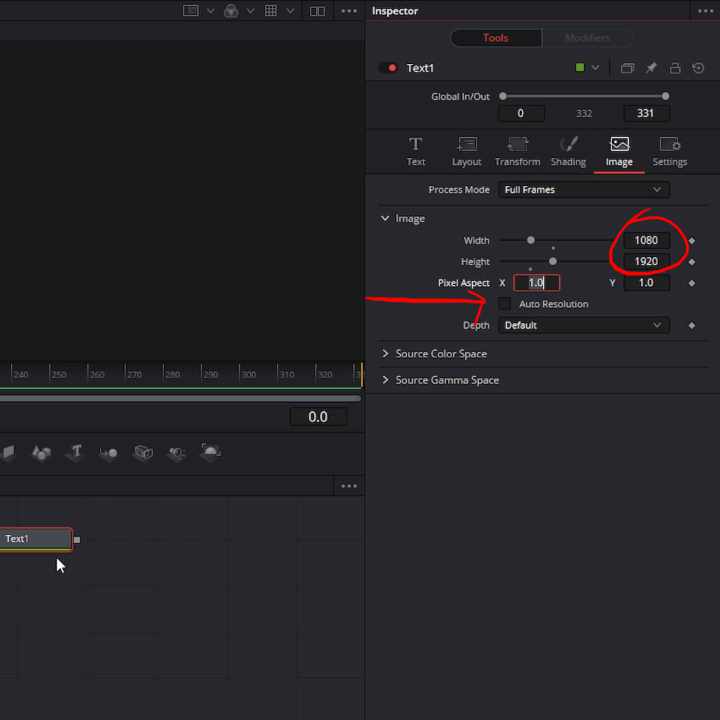
Next, take a text node and we’re just going to make it vertical just like a phone screen, to do this we’re going to come over into the image tab turn off auto resolution and change this to 1080×1920.
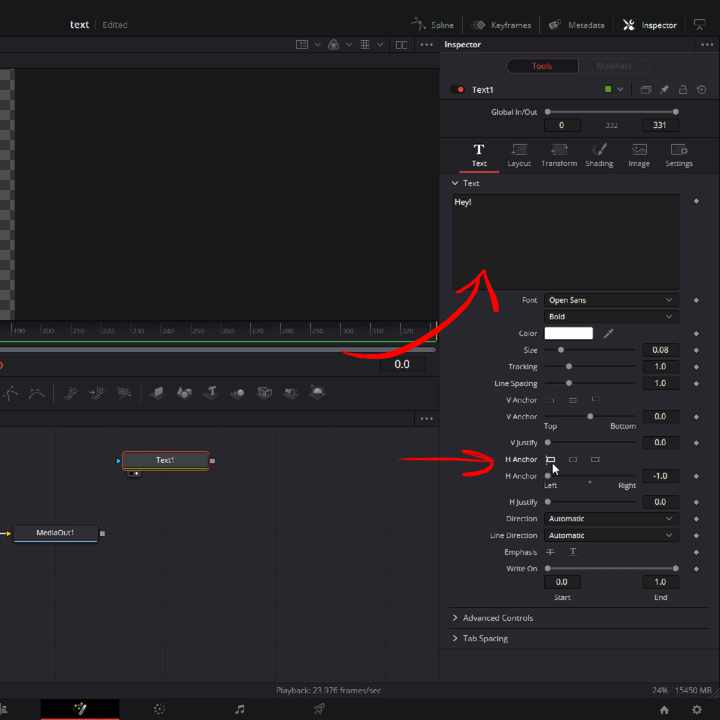
Now that we have it vertical we’re going to come over into the text page in the inspector and I’m going to just go to type in a little text and have it anchored to the left. All of the text even if it’s multi-line is always going to be anchored to the left even though that the chat bubble might expand and the chat bubble itself is anchored to the right or to the left depending on who’s talking but the text in the bubble is always anchored to the left.
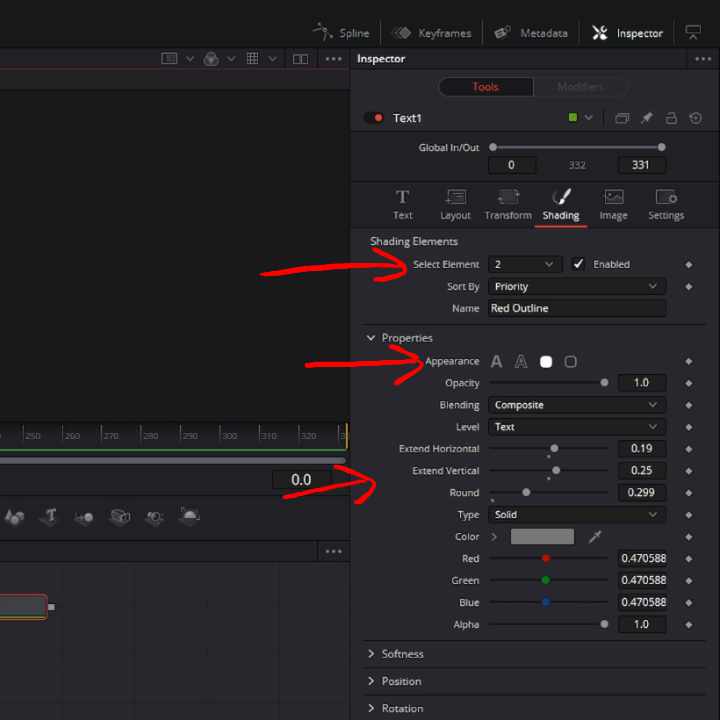
The next thing that we’re going to be adding is the text bubble. We’re going to be adding a second shading element. Once we add the new element we need to change the appearance option to be the background. Each individual letter has a little box so instead of that what we’re actually going to come down to is this level and we’re going to switch this over to text then we can throw on a little bit of rounding and we can expand this a bit so that we have a little more breathing room on the sides.
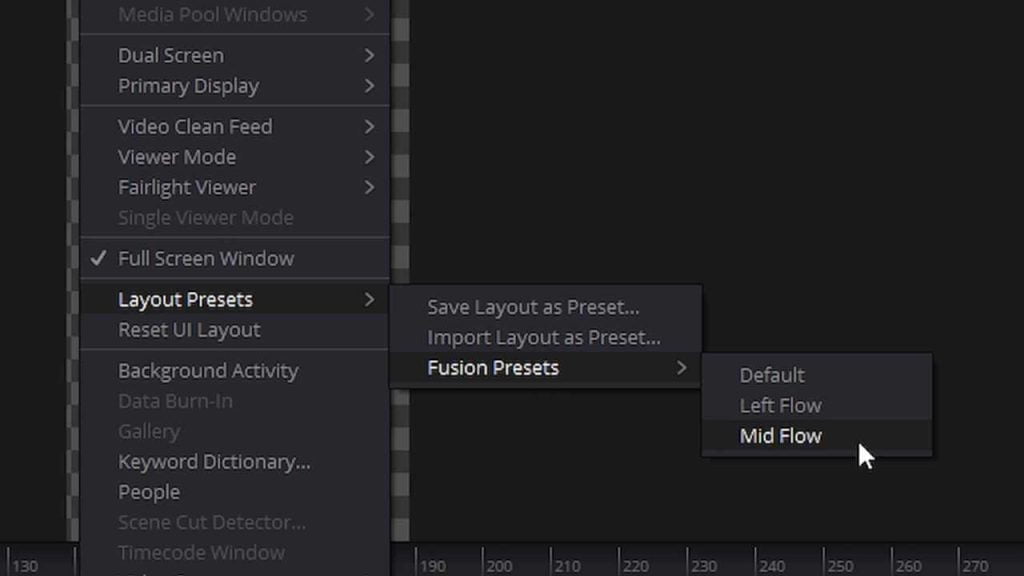
Next, we’re going to come up to workspace and we’re going to switch this over into middle flow and I’m doing this is because this is vertical and it just makes things a little easier to work with why we’re adding all of these elements in.
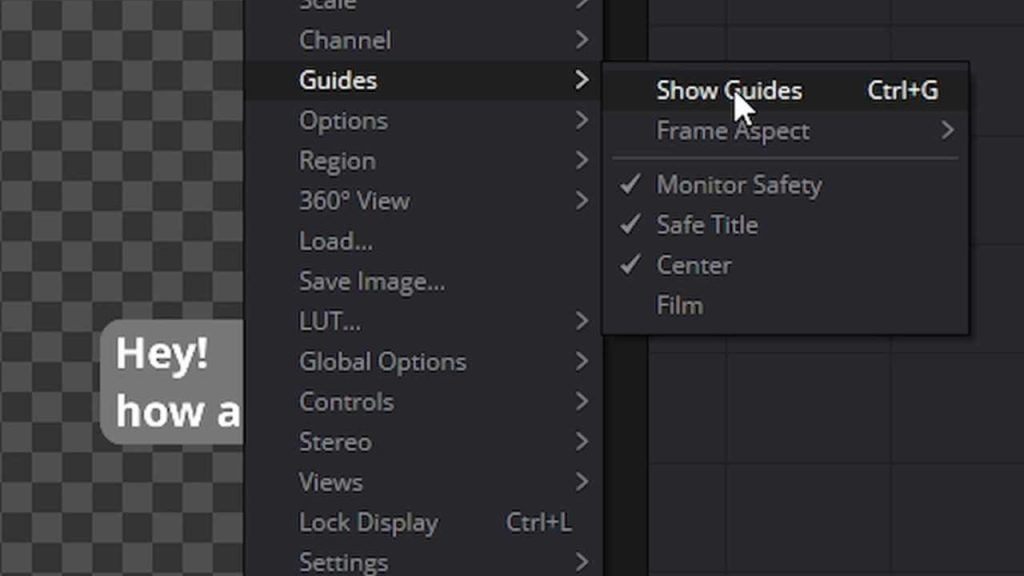
I go into guides and we’re going to turn the default guides on the bubbles are going to be anchored left or right and now we have a guide to make sure that they all line up.
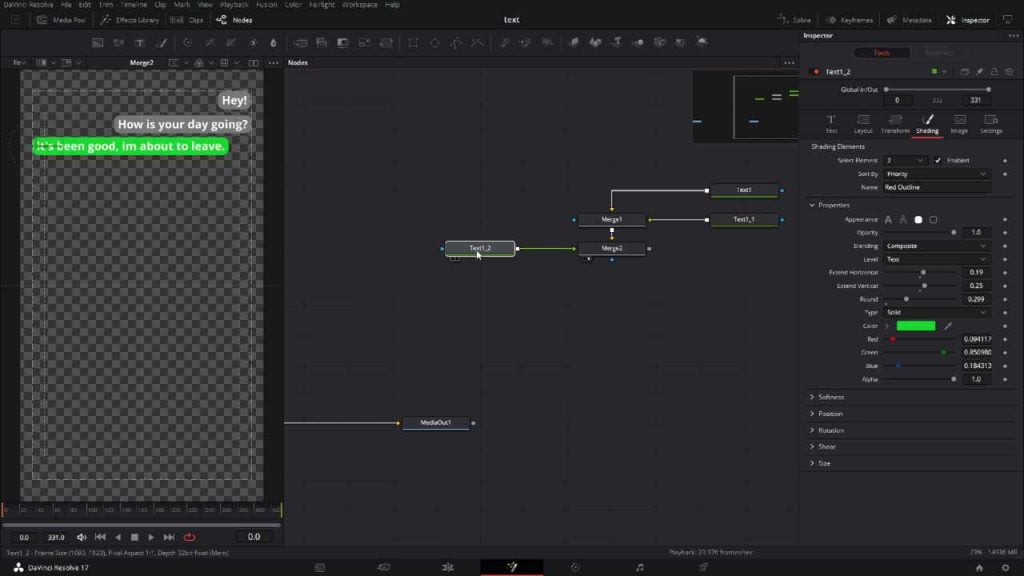
We will now be moving the text into place and to make things easy we can just copy our text node and change it for the other text bubbles in the conversation.
Next if we open the keyframes window we can see the audio in fusion from the timeline.
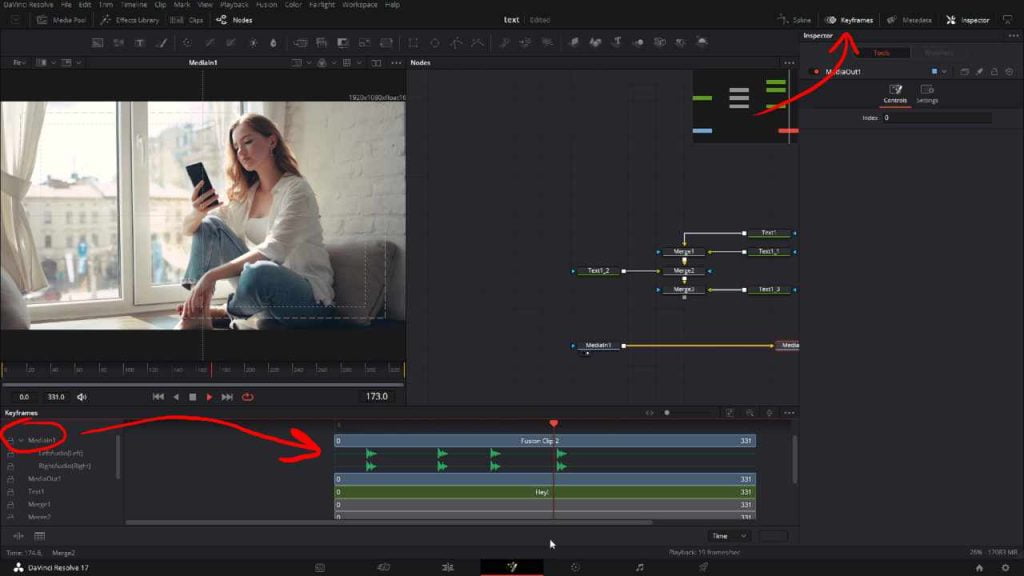
Now that we are able to see the audio we have a good way to time the text bubbles.
We would next keyframe each of the text bubbles and have them pop out as we hear/see the sound in the keyframe window. I also like to turn on motion blur to help make the animation look smoother.
After adding the pop in animations we can connect everything to go out to the timeline by connect the stuff we have made to the middle of the media in node and media out node.

If you would like to take this animation a step further you can have this tilt and move in 3D space. For more info on taking this animation further watch my guide on youtube starting at 6:13


