The video collage Resolve fx
The video collage tool in DaVinci Resolve enables you to make a picture in picture on the edit page without the need of going to a different page like the fusion page you typically would go for a composite of this kind.

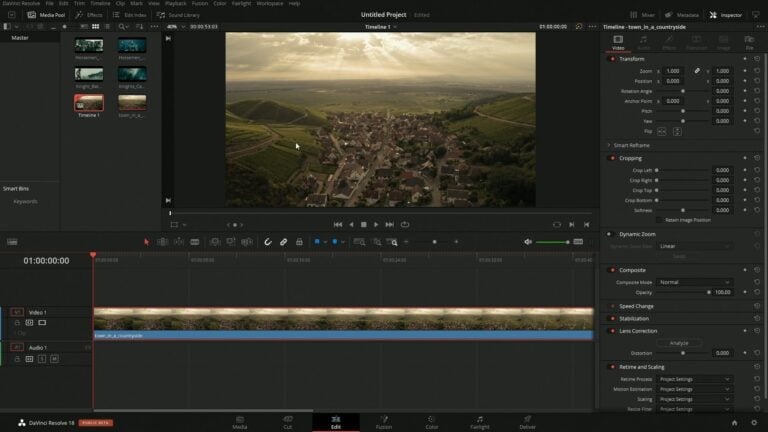
We will first bring the background for this effect on the timeline this can be either a video or image.
We will be applying the collage effect to this background video or image
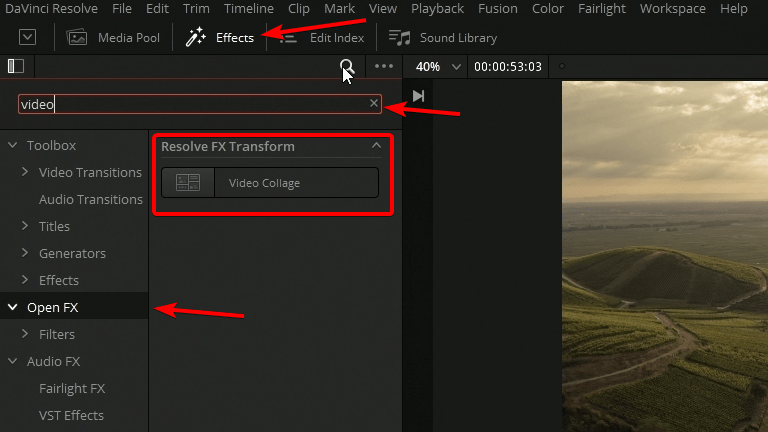
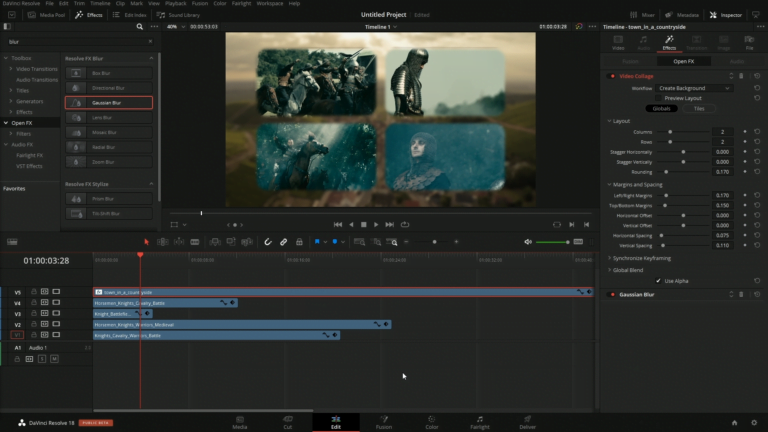
Clicking on effects and then open fx we can search or scroll through the list for video collage
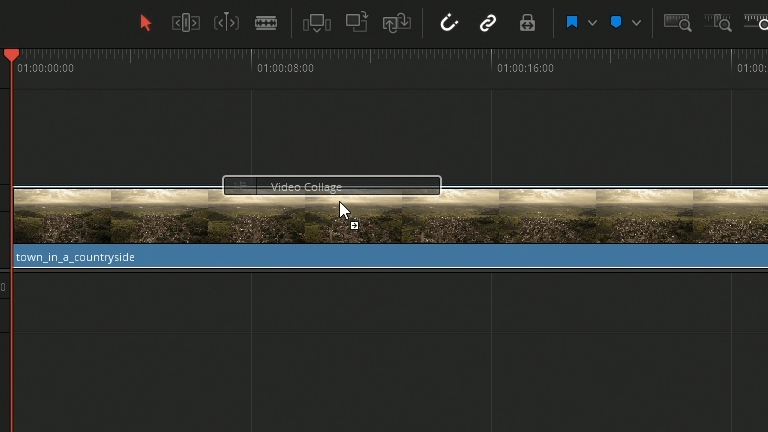
We will drag the video collage on to the background track
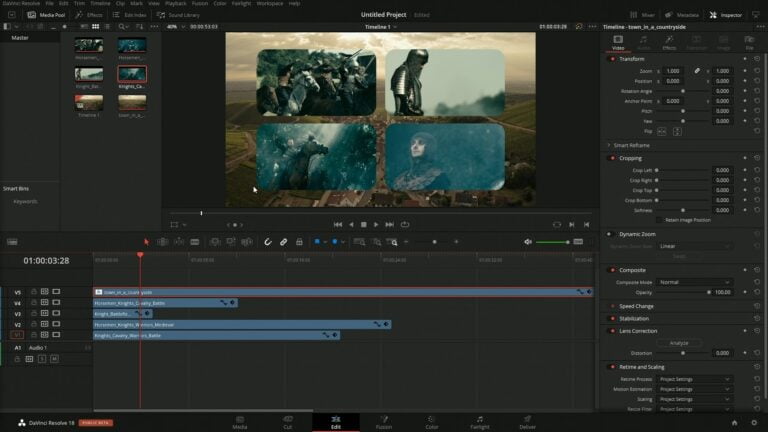
We can now close the effects tab. with our background element selected on the timeline we can go up to the inspector and click on effects to see the controls for the video collage
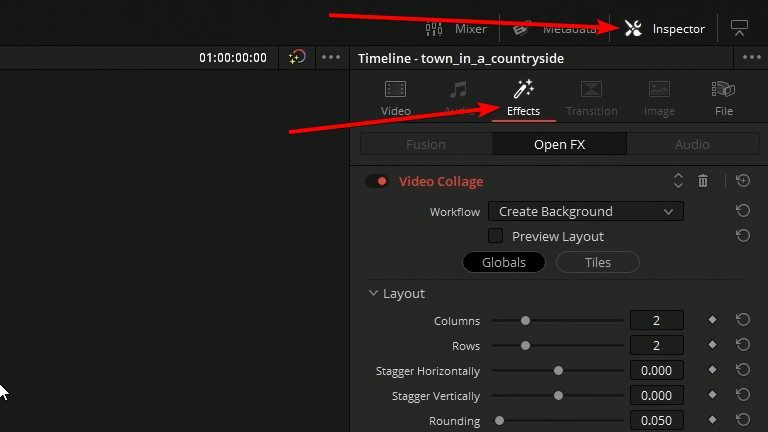
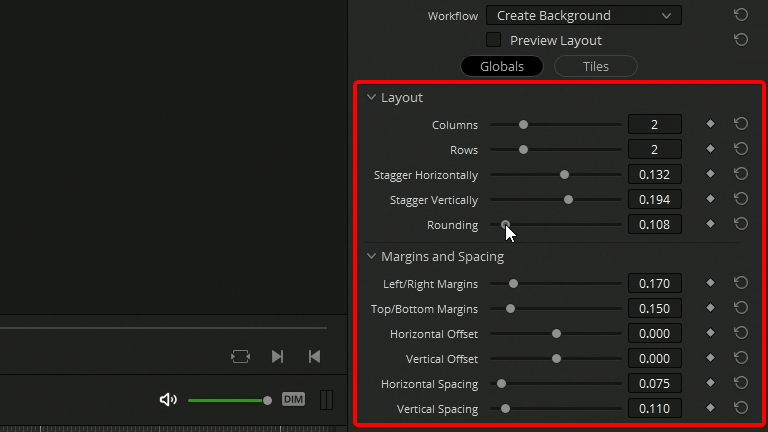
The options in the layout section allow us to change the appearance of the layout. were able to add as many columns and rows as we want if you need more than what you’re able to achieve by sliding the slider all the way to the right you can type in a higher value if required.
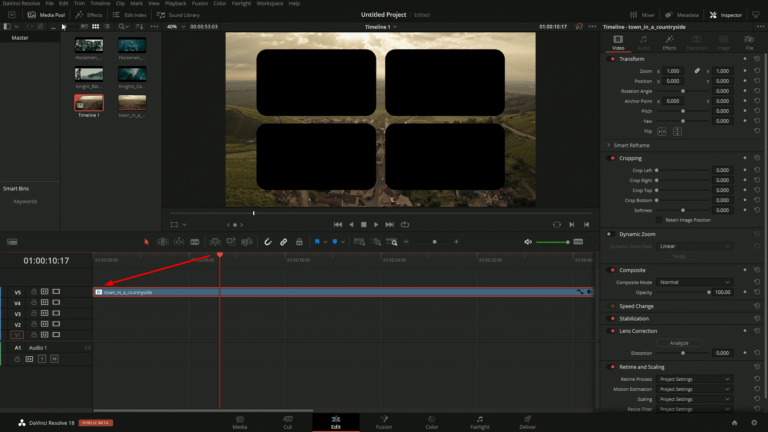
Next we will need to move this background element that’s currently on the time line up so that we can put the videos behind this element where the cutouts are. I currently have four windows here so I’ll move this up to video track 5 so I can put the 4 Clips underneath this background clip.
Now we can start to bring in our video clips that we want to have an each window below the background element we just moved up to track 5
As you can see we need to resize the video clips we just brought in to fit within each of the windows.
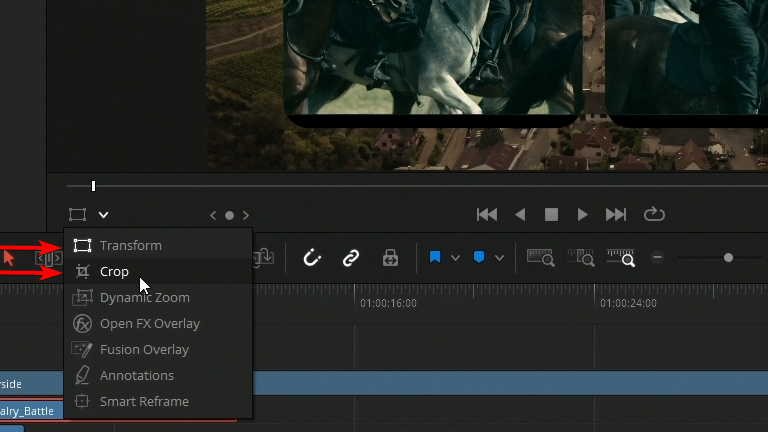
We will be using two different on-screen controls here the transform control as well as the crop control
Since we are working with different aspect ratios and we might want to show something slightly different in each picture in picture, using these two controls really makes life easier reposition everything instead of using the controls in the inspector.
It doesn’t take long to figure this out but the biggest thing to remember is that background layer is just a layer that has hole cut out of it and we have these video clips behind that layer and we’re just repositioning inside of those Picture in picture windows.
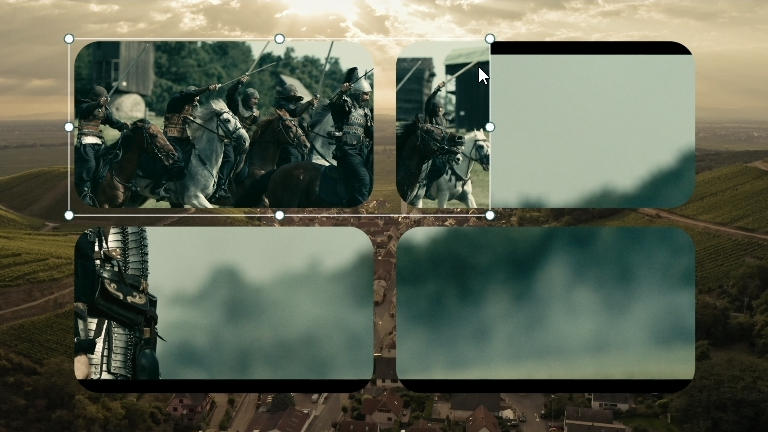
As you can see here everything is looking good there’s just a little extra overhang so I’ll switch my on-screen controls to crop controls to remove the portion of the image that is in the other picture in picture window
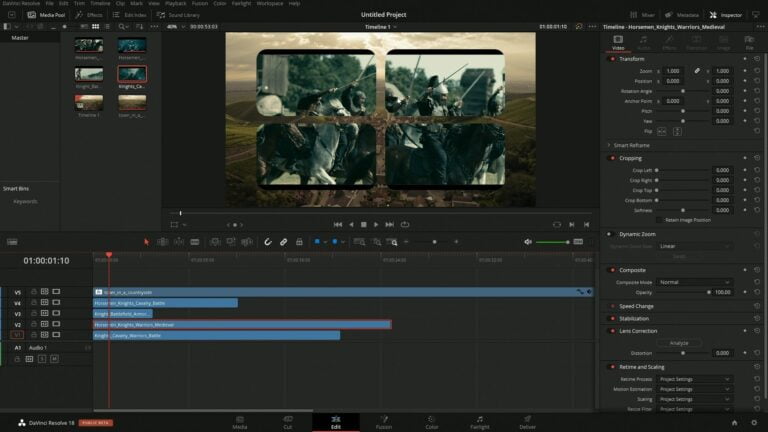
After a minute or two this is what we end up with.
One thing you’ll notice with my project so far as the background isn’t really pushed into the background so much everything is tax sharp and isn’t really subtle like a background normally would be. Currently everything looks really busy because the background has so much additional detail but we can fix that by blurring that background image.
If we open up our effects and search for blur we have a couple of options here that we can apply. For this demonstration I’m going to go with a gaussian blur. I’ll add the gaussian blur on to the background.
As you can see after applying the guardian blur the background and the collage effect are now both blurred.
We can easily fix the video collage from being blurred by reordering the video collage and the gaussian blur so that the blur happens and then the cut out for the picture and picture is then applied after the blur.
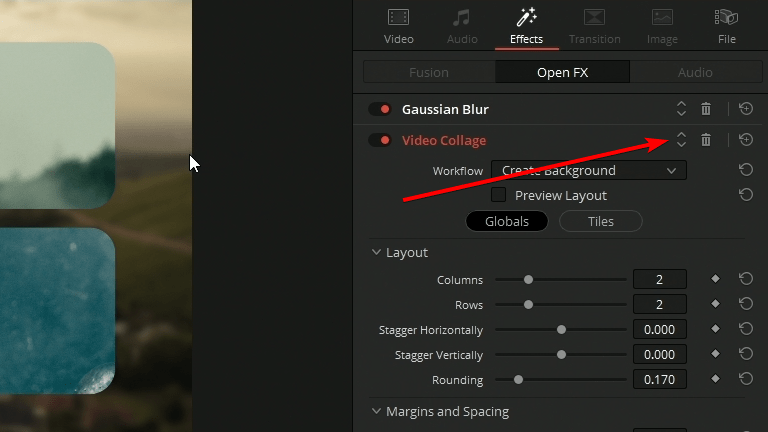
Clicking on the little arrows in the effects panel change the order of the effects being applied to the clip.
Now you can see we have crisp clean edges for the picture and picture and the background is blurred pushing that element in the back and not making the overall appearance seem as cluttered.
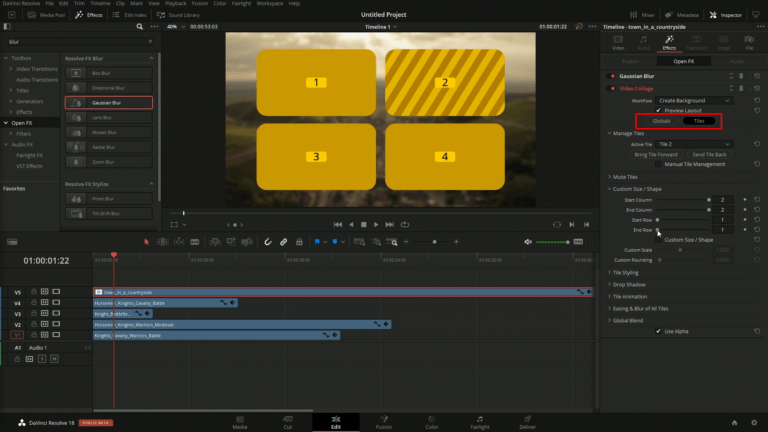
If we want to create a more custom layout we can do that by switching the video collage from Global to tiles. This new set of controls allows us to change how each tiles is visible in the collage. Click on the check box to preview layout to get this yellow overlay to get a better idea of each tile number.
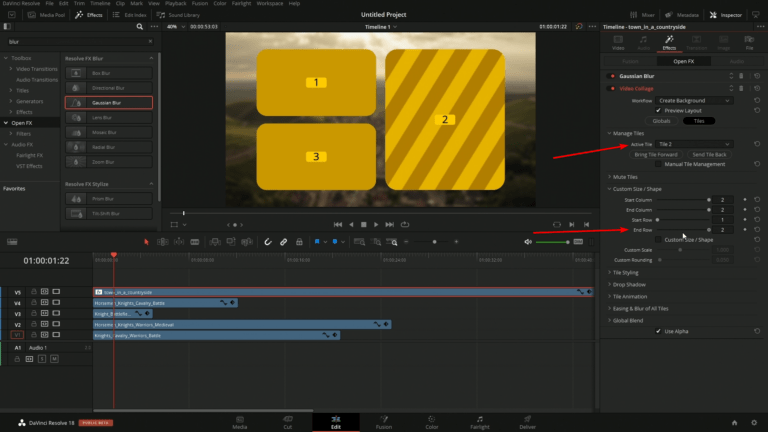
Having title number 2 active and changing where that title ends to Row 2 we now have 3 tiles and one tile is significantly larger we can do this with any number of tiles if we chose to include more tiles we can make the tiles all sorts of different shapes.
If we now turn off preview layout we will see we still have 4 video showing we will need to reposition one of the videos to fill up that whole window.
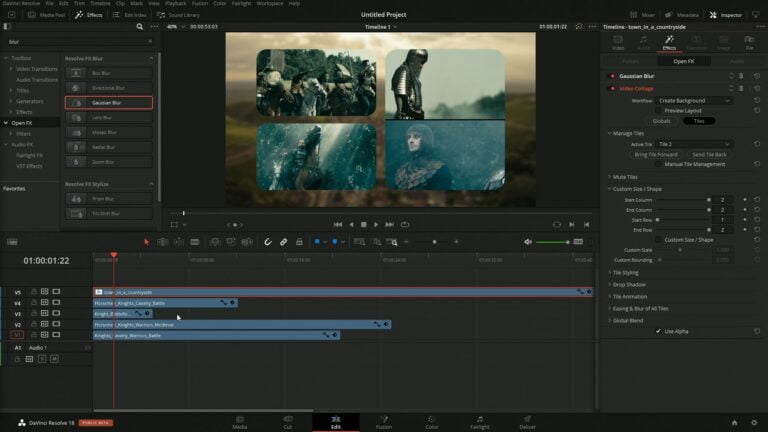
And after resizing are elements flipping an image we end up with something like this


