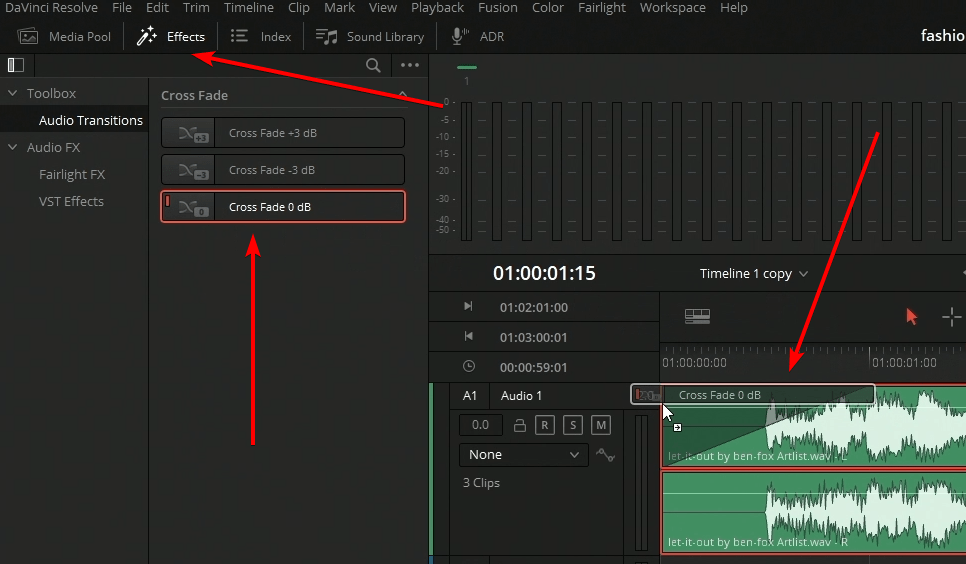
There are few ways to fade audio in DaVinci Resolve and unfortunately each page has a slightly different process.
Audio fade on Edit page
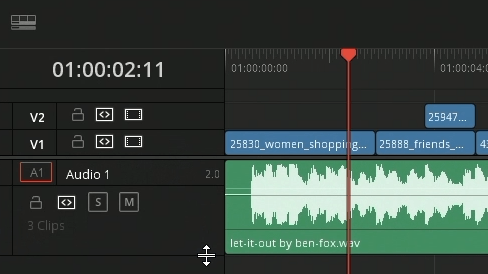
We’ll start off here on the edit page. if you do not see the waveform you can pull down the audio track to make it larger, you should see the waveform once the audio track is wide enough to draw the waveform.
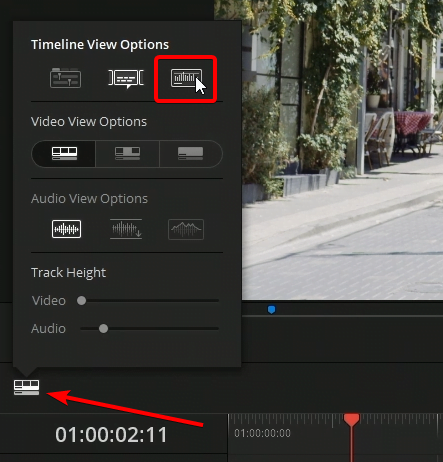
If you still do not see the waveform once the audio track is wider you might have to go into the timeline options and within the timeline view options turn on waveforms
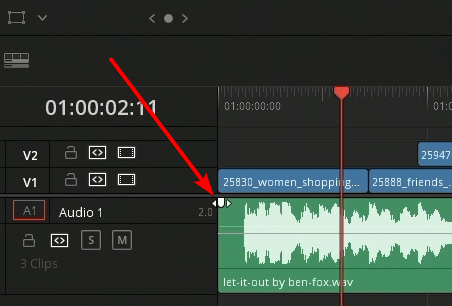
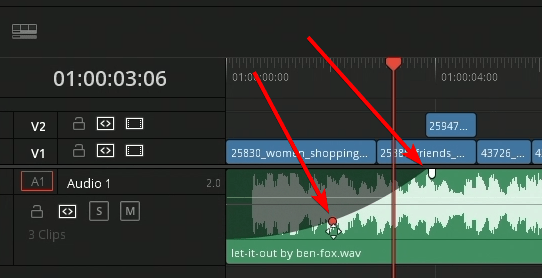
Now that we’re able to see the waveforms if you take your mouse and going to the edge of an audio track you should see this little tool as seen below.
Dragging the fade tool into the track will add a fade. After dragging the fade tool into the track you should see a circle, this circle lets you change the curve of the audio fade if necessary. Changing the curve of the audio fade allows the fade to come on quicker or come on a bit slower depending on which way you move it.
Audio fade on Cut page
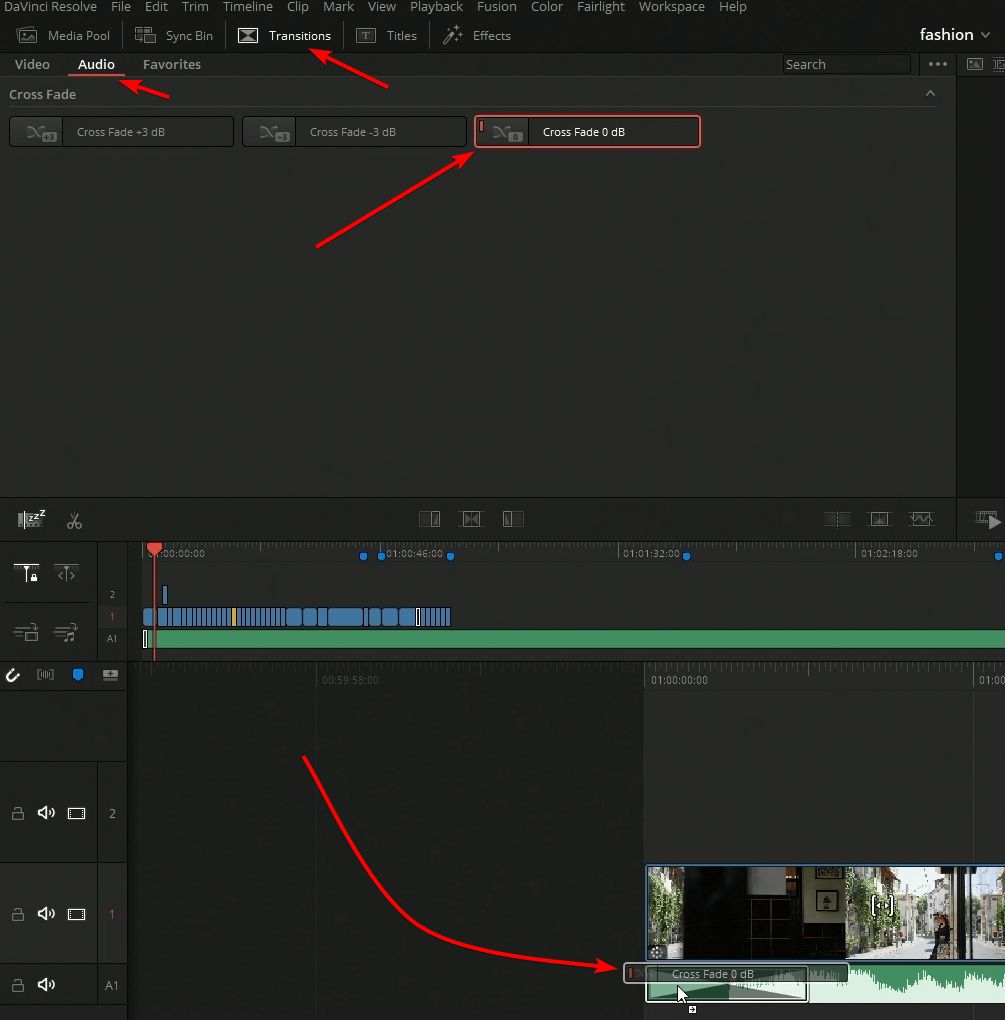
Next, jumping over to the cut page. On the cut page we are going to use one of the transitions under the audio tab to add a fade on to the end of the audio track.
Audio fade on Fairlight page
On the Fairlight page you have the ability to use the first option we used on the edit page as well as going into effects and pulling in a audio transition crossfade. If you do add the crossfade you’ll notice all it’s really doing is pulling the audio fader over.
