How to speed up, slow down, reverse and stop footage on the timeline in DaVinci Resolve 18.
- 00:00 Intro
- 01:55 Change whole clip speed
- 03:00 Freeze frame
- 04:17 Retime drag controls
- 05:10 Retime Process setting
- 06:03 Optical Flow
- 07:14 Speed ramp
- 08:40 Retime curves
- 11:42 Play video backwards
In DaVinci Resolve you have a few ways to change the clip speed. Lets quickly quickly go over how to get into each option in the menu.
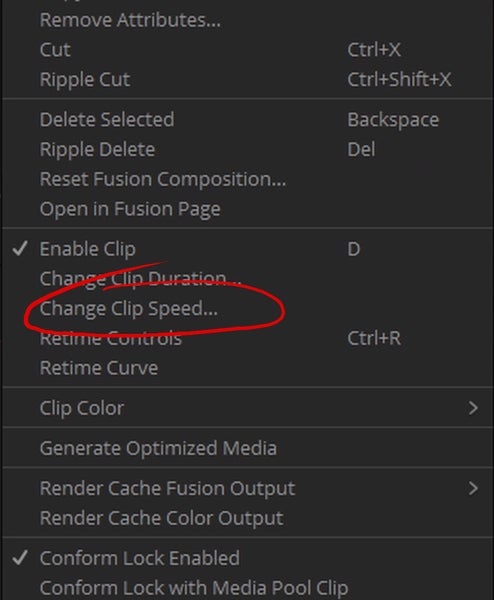
1. Change Clip Speed.
This is how you would quickly change the whole clips speed on the timeline.
You can get into this menu by right clicking on a clip in the timeline and clicking on Change Clip Speed.
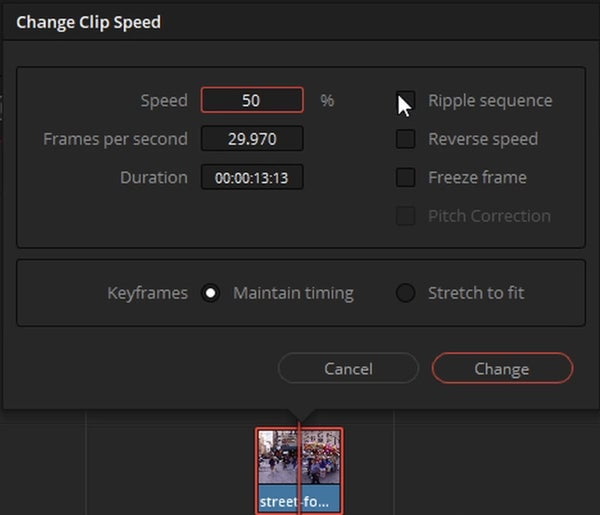
Once clicking on change clip speed you should see this menu. Here you can change the speed of the clip, if the clip plays backwards and you can also change a clip into a freeze frame.
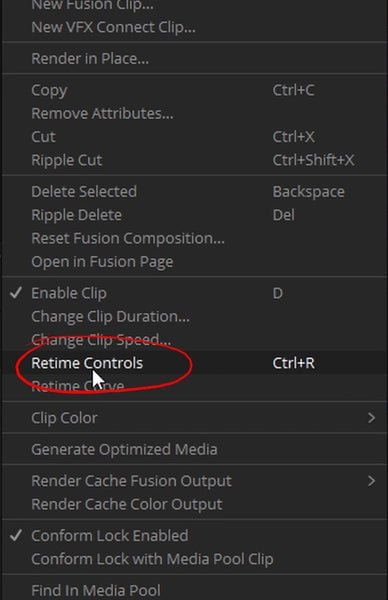
2. Retime Controls
Retime controls let you drag parts of the clip to speed up or slow down a video clip on the timeline.
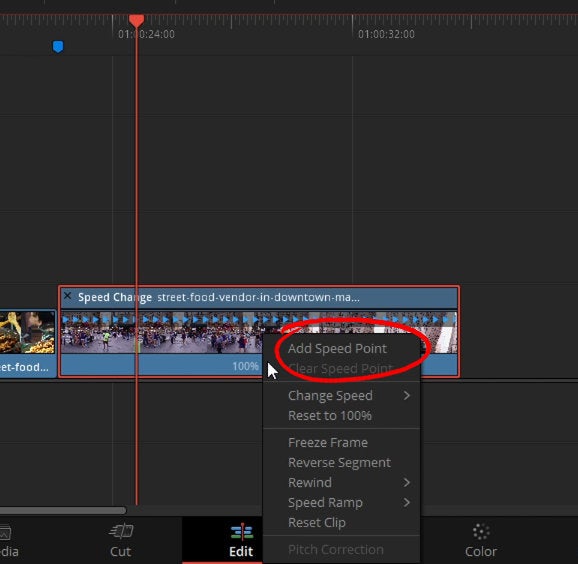
To open the retime controls right click on the clip and click on retime controls.
To pick the parts of the clip you would like to start by moving the playhead to the area you would like to change then right click on the arrow and click add speed point.
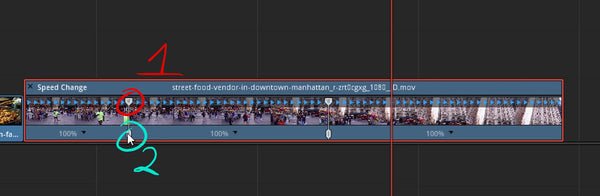
Once you have speed points added you can down use the controls on the point to change the location of the speed point or timing of the clip.
The speed point is slip into 2 parts. Below the part with the number 1 is the part of the speed point to change the timing and the part with a number 2 is how you can change the location of the speed point on the clip.
3. Retime Curves
If you ever wanted to speed ramp with curves you can do that here on the edit page with the retime curves.
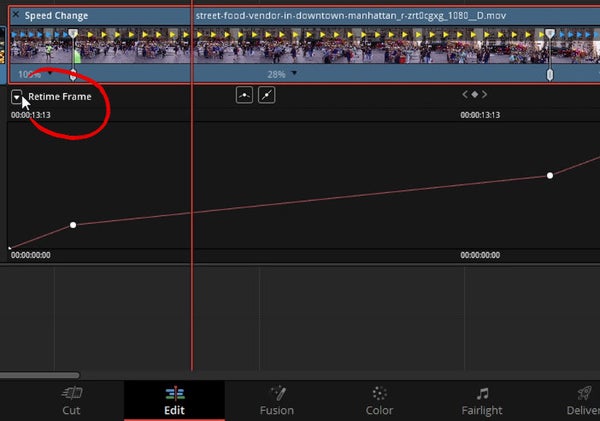
To open retime curves right click on the clip and click on retime curves in the menu.

By default this will open retime frame and I’m not really a big fan of this so I like to swap over to retime speed. You can change the editor to retime speed by clicking on the arrow in the left side of the retime curve window.
I uncheck retime frame for retime speed.
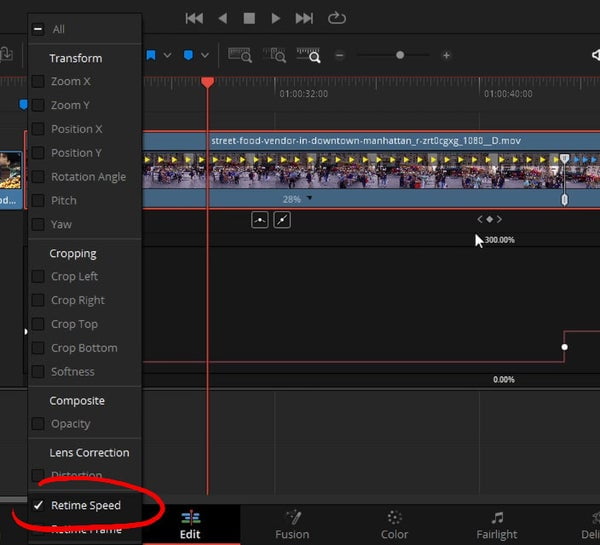
When using the retime speed you can change keyframes to easing by clicking on the keyframe to make it active then clicking on the easing button in the middle of the window.
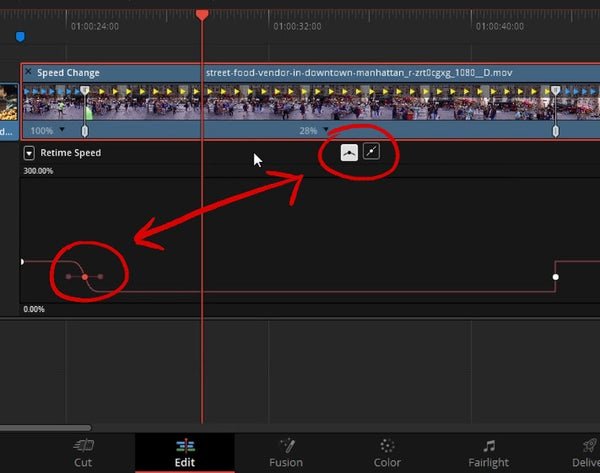
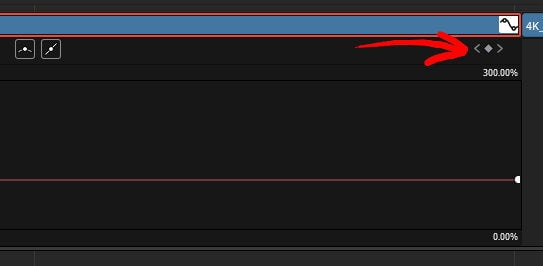
To add more keyframes in the window you can click on the diamond in the right can corner of the curve window