How to make clean and great looking end credits without fusion or keyframes.
To build these credits we are going to be making the credits on a new timeline and once we are done making the end credits we can then add the new credits timeline to the main product timeline.
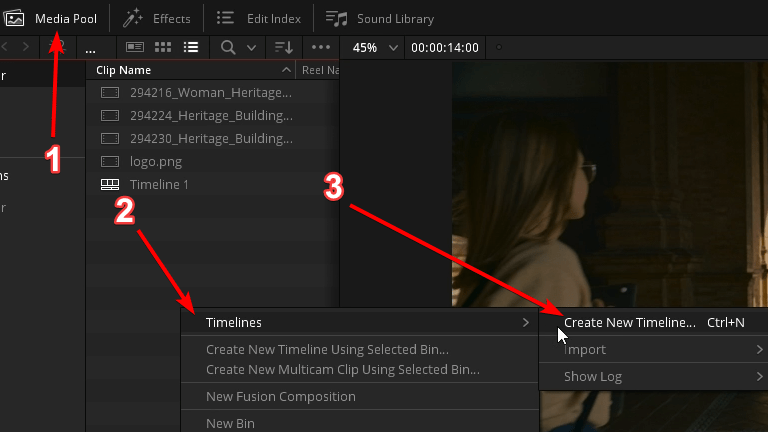
Create New Timeline
Open the media pool, right click to get the timeline menu in the media pull and click create new timeline.
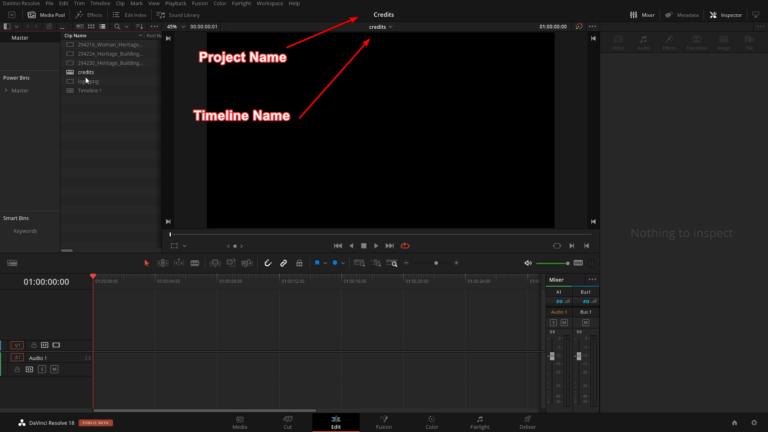
Once you make the new timeline open that timeline by double-clicking on its name in the media pool. You should see the current time line you’re in above the viewer.
Add credits
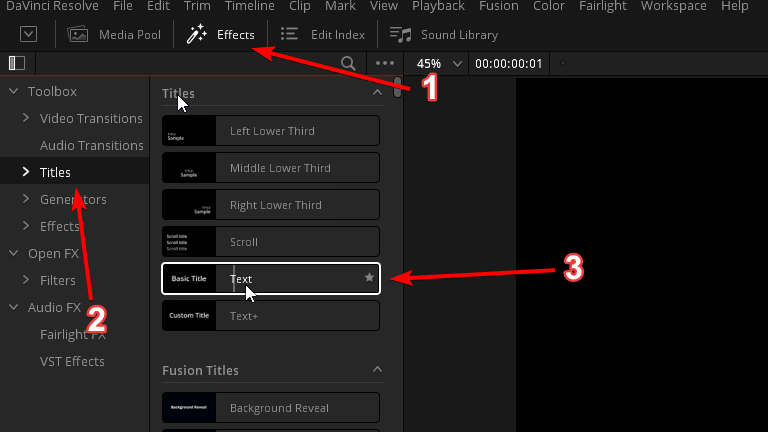
Next we will open up the effects Library go to titles and then there is a tool called text, we’re going to drag that onto the timeline.
Style credits
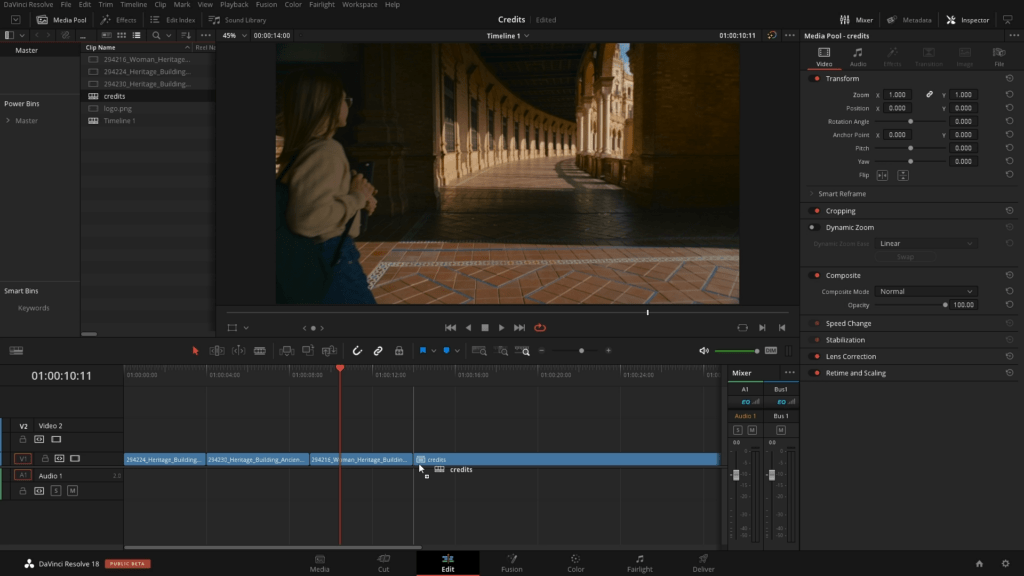
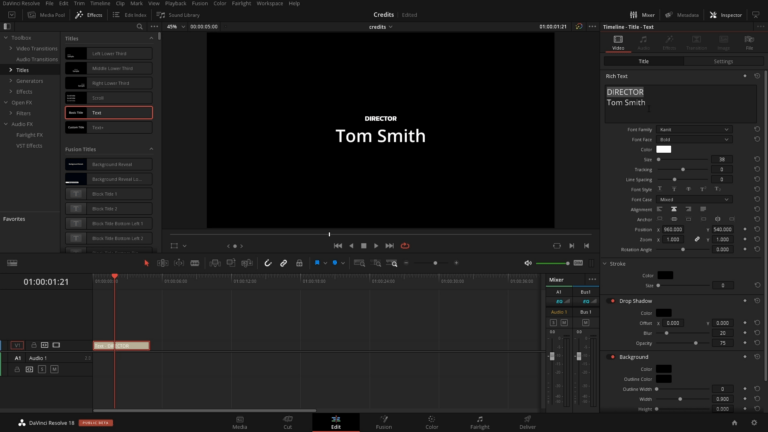
We can click on this element in the timeline and if we go over into the inspector we can add in the person’s role and their name as well as change the font, color, size of text.
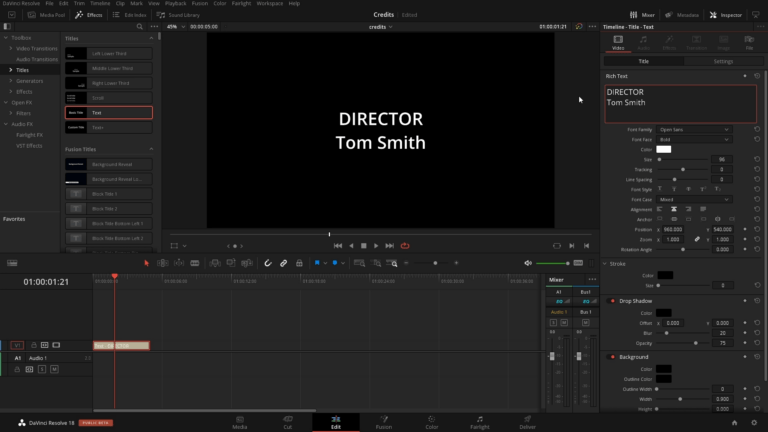
If you want to have a different font size and font type highlight the portion that you want to change and then change the parameters.
Duplicate credits
Once done we can copy this element on the timeline so we can keep the formatting we’ve added. To copy the title on the timeline hold Alt (PC) or option (MAC) and drag to make a copy of the title.
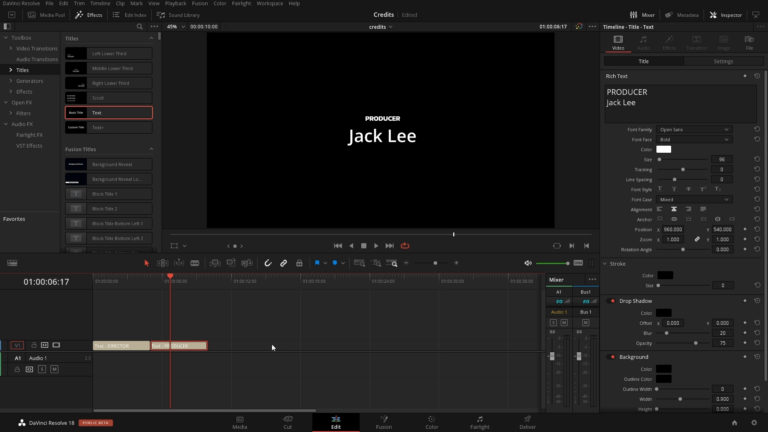
Once you have the copy you can change the title by clicking on it and changing the role and name in the inspector.
Continue doing this process until you have all of the rolls and names for your end credits.
Change credit duration
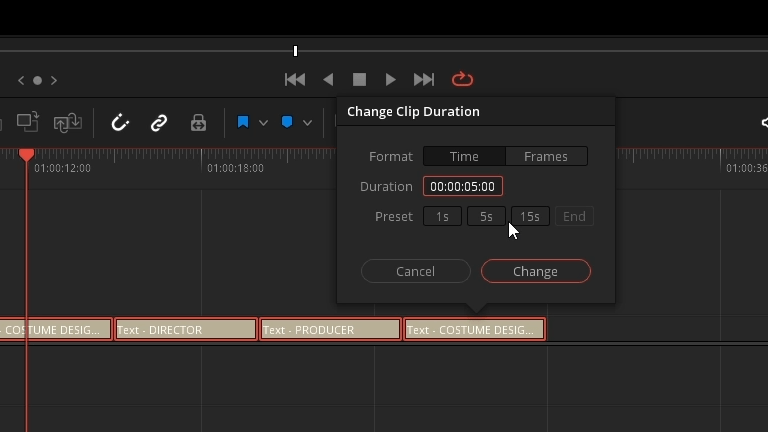
Next select everything on the timeline by hitting control (PC) or command (MAC) + A
With everything selected hit control (PC) or command (MAC) + D this will pop up a change clip duration box and lets change this from 00:00:05:00 to 00:00:03:00 then hit enter.
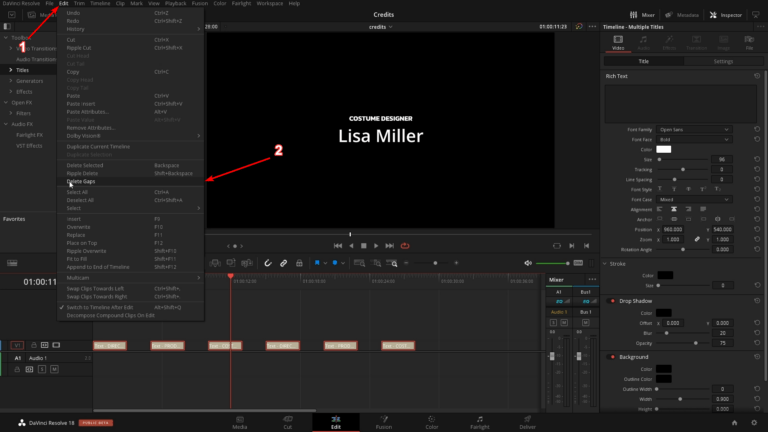
Delete gaps
We next need to remove the gaps. Within the top bar click on edit then click on delete gaps.
Add transitions to multiple clips
Next lets add in transitions. We first need to get the transition set as “Standard Transition” so we can use a keyboard shortcut to add transitions between every clip with 1 keyboard shortcut.
- First click on effects
- Click on video transitions
- Right click on dip to color
- Click on Set As Standard Transition
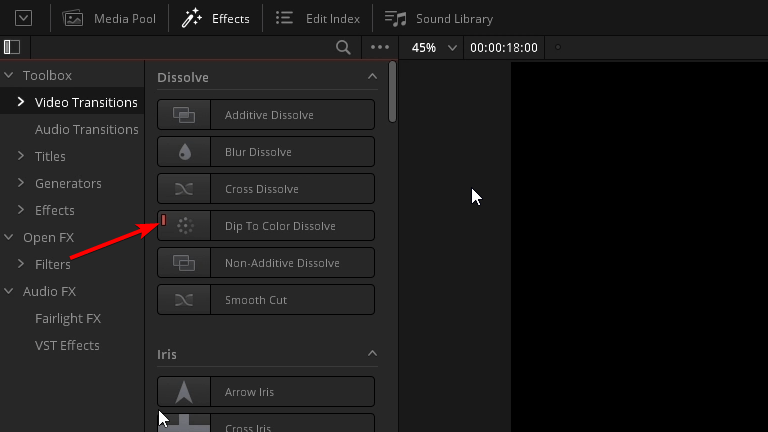
The “Dip To Color Dissolve” should have a little red mark next to the icon.
With everything still selected on the timeline we can hit control (PC) or command (MAC) + T and you should see a transition add between all of the titles on the timeline.
Dynamic Zoom to multiple clips
With everything still selected we are now going to add Dynamic zoom in so that the titles have movement.
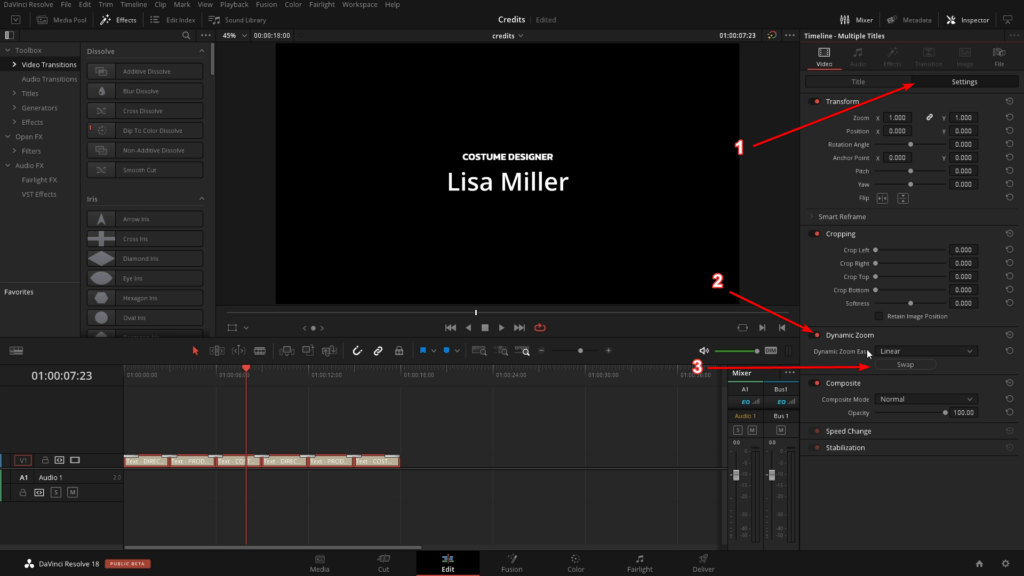
- Click on settings
- Click the Dynamic Zoom switch
- Click on swap
Add credits to main timeline
Once done here we can click on the main project timeline.
Once on the main timeline we can add the credits timeline on the end of this main timeline.