FAIRLIGHT
CERTIFICATION COURSE
Official training on DaVinci Resolve Fairlight audio tools. The Fairlight Certification Course consists of a full curriculum to help you become proficient in operating the Fairlight tools or brush up on your overall expertise. Whatever path you choose, you’ll gain industry-recognized skills!

Updating to DaVinci Resolve 19!
Submit your email to get notified when my Blackmagic Design-approved course is available.
Level
Beginner
Lessons
15
Duration
8 hours
Software
DaVinci Resolve
Format
Online
Everything in the DaVinci Resolve Fairlight course
All project files used in course can be downloaded so you can practice and work along with course material.
Once upon completing the course you’re welcome to take the certification exam free of charge!
Successfully passing the exam Blackmagic Design’s will issue you a DaVinci Resolve Fairlight certification.
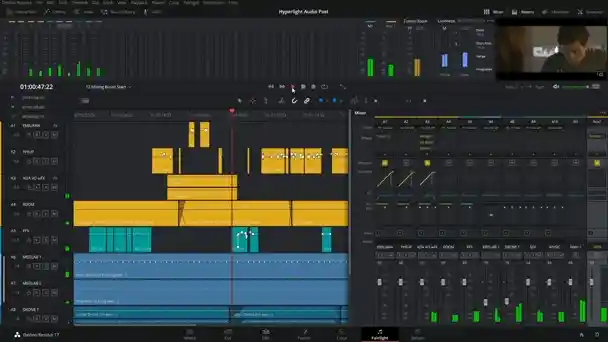
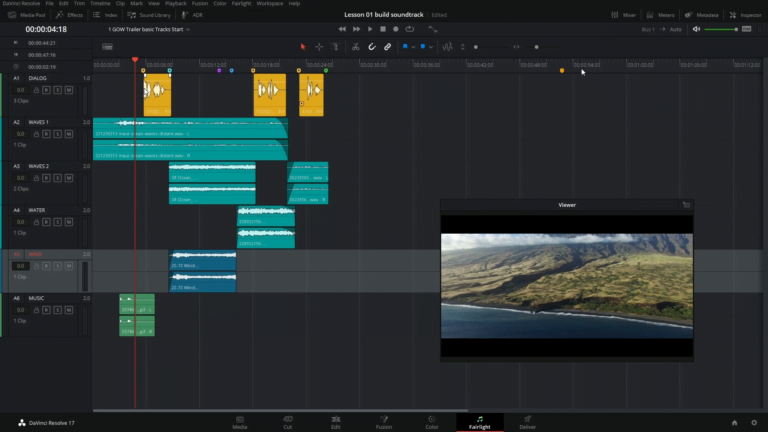
LESSON 01 · 1hr 5min
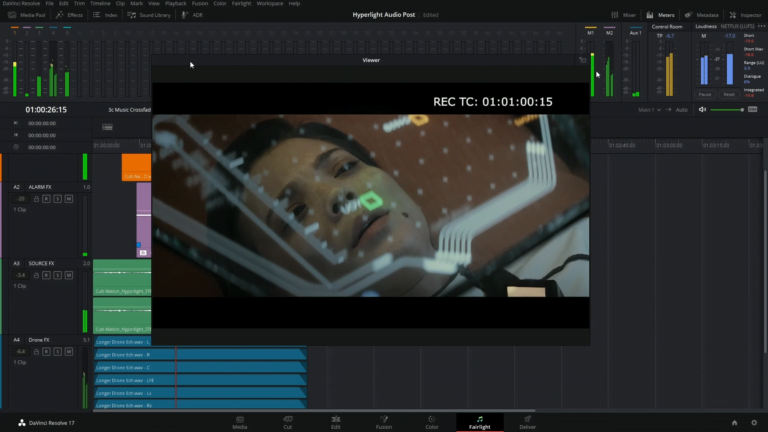
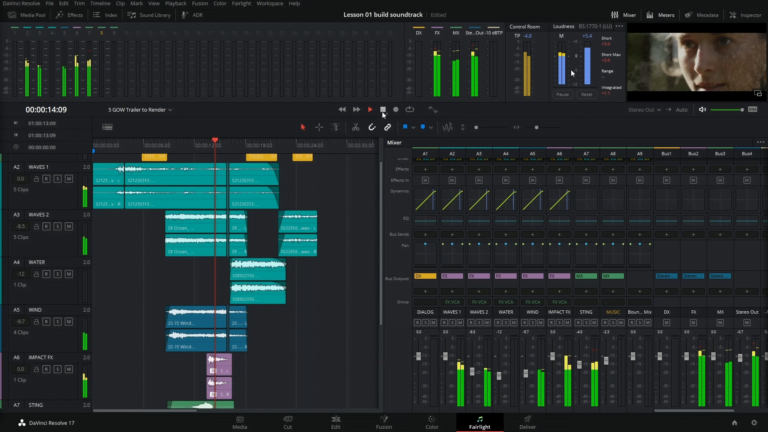
Building a Soundtrack
- Opening and Playing a Project
- Monitoring Video Only
- Evaluating Tracks During Playback
- Previewing Audio Clips in the Media Pool
- Working with Markers
- Adding Audio Clips to the Timeline
- Naming and Moving Tracks
- Marking and Editing Select Portions of a Clip
- Scrubbing with the JKL Keys
- Marking In and Out Points
- Changing Clip Volume Levels in the Inspector
- Showing, Hiding, and Zooming In and Out of Tracks
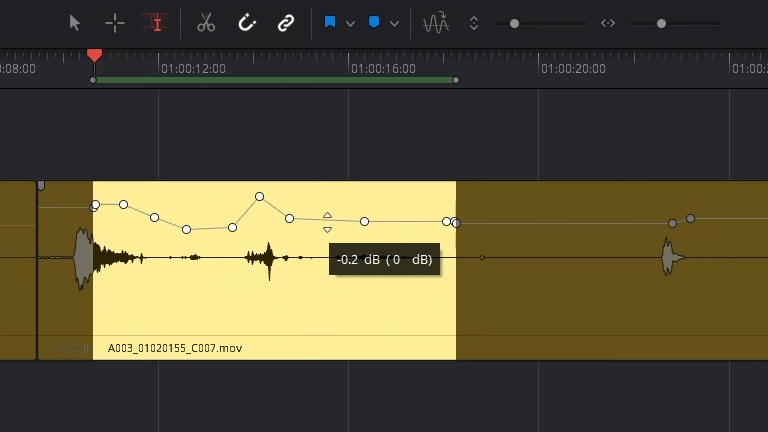
- Changing Clip Levels in the Timeline
- Manually Creating a New Track
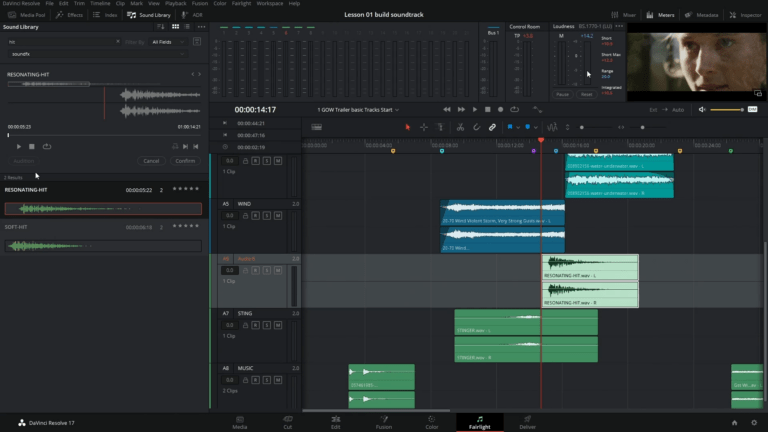
- Adding Sound Effects to the Sound Library
- Auditioning Sound Effects in the Timeline
- Moving and Trimming a Clip in the Timeline
- Selecting and Deleting a Range in the Timeline
- Balancing Track Levels
- Adding a FairlightFX Plug-In to a Clip
- Using FairlightFX Plug-In Controls in the Inspector
LESSON 02 · 37min
Recording Voiceover and ADR
- Setting Up Your Microphone
- Preparing the Project
- Previewing the Scene for Context
- Selecting and Disabling Clips
- Changing Playback Behavior
- Choosing a Location for New Audio Recordings
- Setting the Audio Metering for Recording
- Creating and Patching Tracks for Recording
- Monitoring the Track Input
- Setting Up Your Microphone
- Preparing the Project
- Previewing the Scene for Context
- Choosing a Location for New Audio Recordings
- Creating and Patching Tracks for Recording

- Using a Text Clip as a Script Prompt
- Recording in the Timeline
- Showing Audio Track Layers
- Recording Two Inputs for Gain “Safety”
- Setting Up an ADR Session
- Manually Creating ADR Cues
- Recording ADR Cues in the Timeline
- Importing an ADR Cue List
- Sorting ADR Cues
- Recording the Built-In System Generator
- Controlling the Playback Volume Level
- Changing the Test Tone Generator Settings
LESSON 03 · 26min
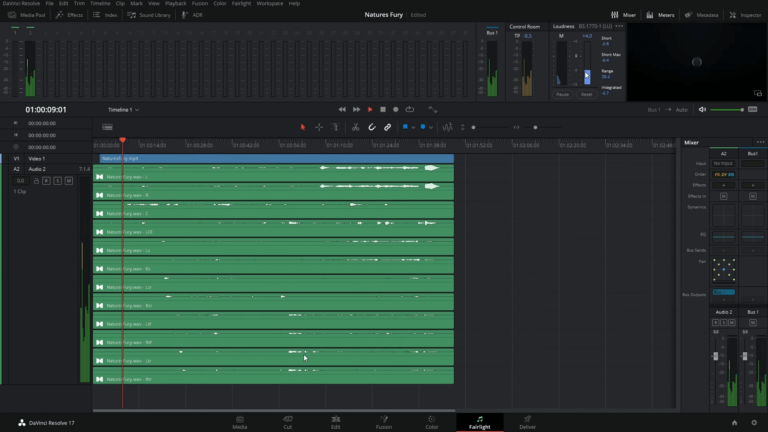
Working with Audio Track Layers
- Preparing the Project
- Streamlining the Fairlight Interface for Audio Editing
- Moving Clips to Different Audio Layers
- Setting Jump Navigation Options
- Aligning and Splitting Audio Clips
- Splitting Clips with the Range Selection Tool
- Building a Voiceover Composite Track
- Using Looped Playback to Select Takes
- Preparing the Project
- Setting a New Start Timecode
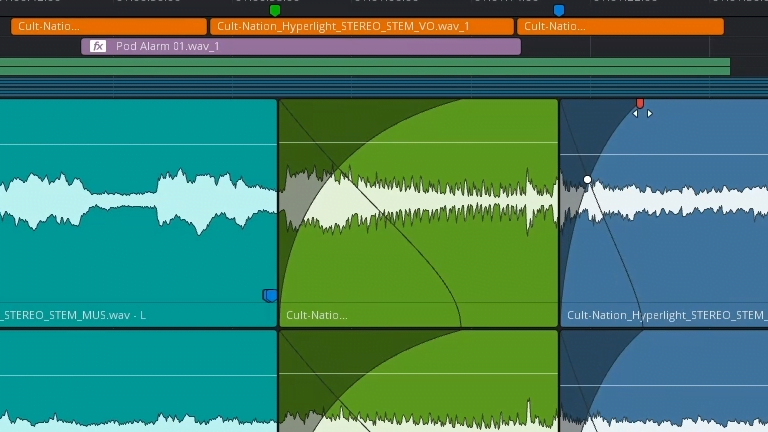
- Creating Crossfades in Audio Track Layers
LESSON 04 · 20min
Preparing Multichannel Clips for Dialogue Editing

- Preparing the Project
- Evaluating Dialogue Tracks and Audio Channels
- Identifying Audio Channels
- Converting Multichannel Tracks to a Linked Group
- Unlinking Track Groups
- Unlinking Clips
- Remapping Audio Channels in the Timeline
- Remapping Source Clips in the Media Pool
- Deleting Unwanted Source Audio Tracks
- Changing a Clip’s Source Channel in the Timeline

LESSON 05 · 35min
Editing Dialogue Tracks
- What Does the Dialogue Editor Do?
- Performing Checkerboard Editing on Dialogue Tracks
- Resetting Clip Levels
- Using Shortcuts to Move Clips Between Tracks
- Cleaning Up a Checkerboard Edit
- Using Fixed Playhead Mode for Scrolling Playback
- Trimming Synced Audio in the Timeline
- Increasing Size and Waveform for Easier Trimming
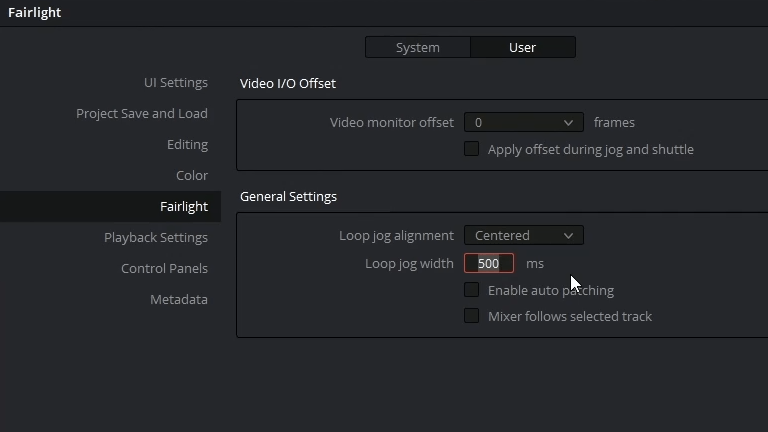
- Scrubbing Audio at the Sample Level Using Loop Jog
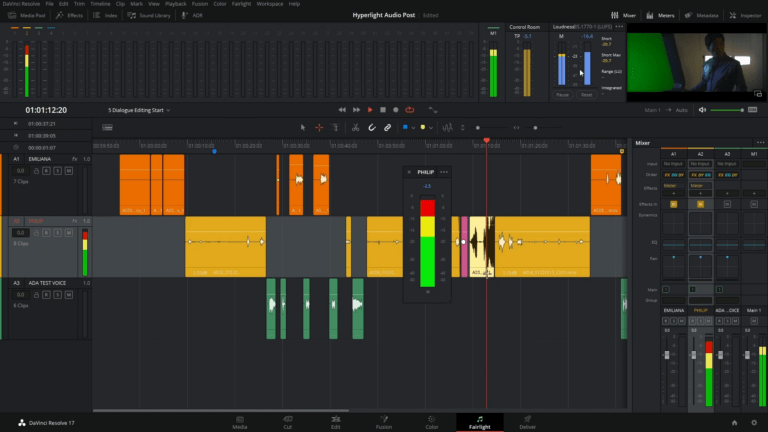
- Balancing Dialogue Clip Levels
- Reading the Meters for Dialogue
- Establishing Target Dialogue Levels
- Adjusting Clip Levels
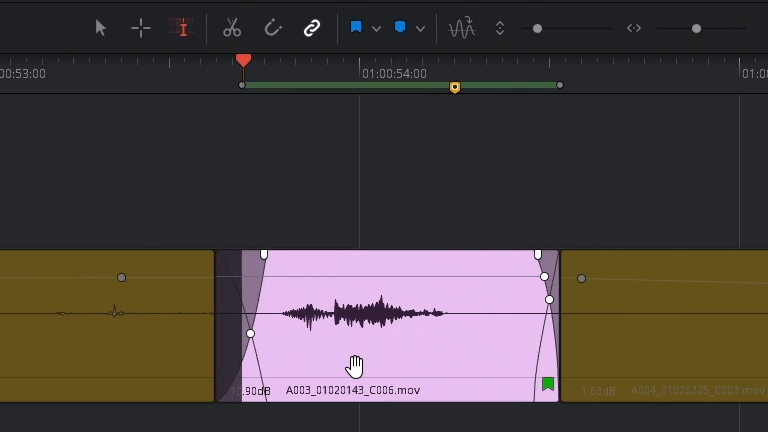
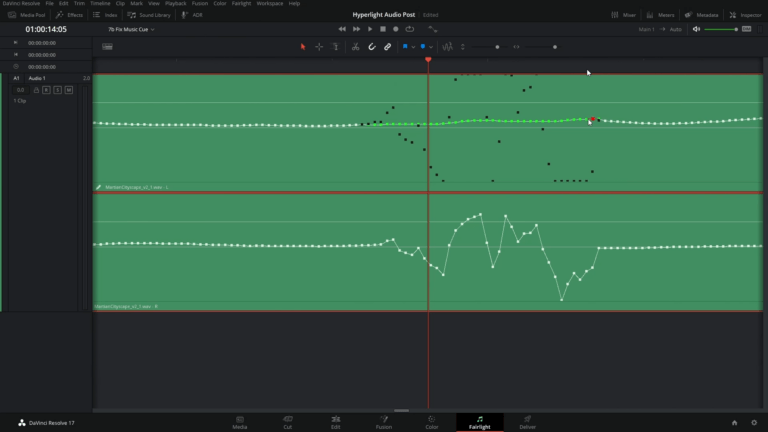
- Using Keyframes to Change Clip Levels
- Applying Auto-Normalization to Balance Clips
LESSON 06 · 36min
Repairing and Replacing Unwanted Sounds
- Preparing the Project
- Exploring the Edit Selection Tool
- Using Live Preview as a Guide in Edit Selection Mode
- Reducing Plosives with Keyframes
- Dipping Annoying Sounds with Keyframes
- Replacing Words from Outtakes
- Working in Layered Audio Editing Mode
- Filling in Gaps with Room Tone
- Finding Usable Room Tone in the Timeline
- Selecting Room Tone
- Trimming an Edit Selection Range to the Zero Crossing
- Stitching Room Tone into a Bed
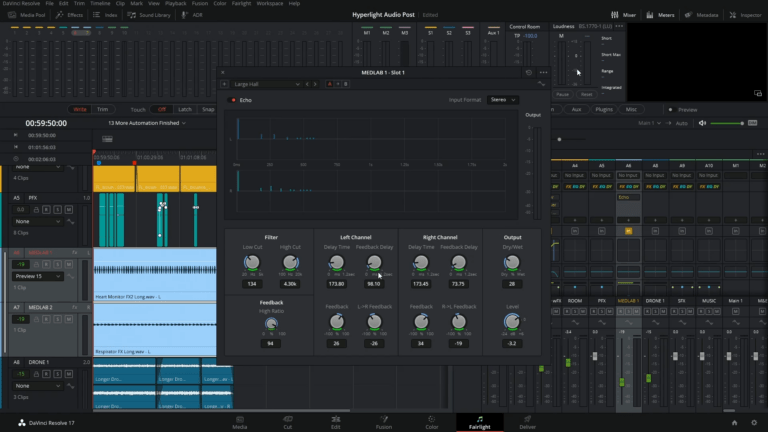
LESSON 07 · 49min
Advanced Dialogue Repair

- Finding Problems
- Repairing Dialogue with FairlightFX Plug-Ins
- Applying Multiple Plug-Ins for Cumulative Results
- Reducing Noise
- Combining Manual and Auto Speech Modes with Multiple Plug-Ins
- Identifying Sibilance
- Reducing Sibilance with the De-Esser
- Gating Low-Level Noise
- Testing Your New Dialogue Repair Skills in a Real-World Clip
- Dealing with Processor Intensive Plug-Ins
- Removing Clicks at the Sample Level
- Isolating the Audible Glitch as a New Clip
- Editing Samples to Correct the Waveform
- Retiming Audio with Elastic Wave Time Controls
- Using Elastic Wave Speed Keyframes to Retime the Waveform
LESSON 08 · 55min
Enhancing the Soundtrack with Sound Design

- Preparing the Project
- Analyzing the Soundtrack Stems
- Creating a Reversed Percussion Transition Effect
- Previewing a Clip in Reverse Speed
- Creating a New Timeline for SFX Experimentation
- Applying Speed Changes to a Clip
- Syncing Sound Effects to Picture
- Using Video and Audio Scrollers for Precise Synchronization
- Doubling a Track to Thicken the Sound
- Copying and Pasting Multiple Clips from One Track to Another
- Applying Pitch Changes to Clips in the Inspector
- Thickening Cumulative Sound with Track Level Pitch and Volume Changes
- Multiplying Voices Using the Chorus Plug-In
- Adding Depth with Time-Based Plug-Ins
- Evaluating Foley Sound Effects
- Applying Multiple Time-Based Plug-Ins
- Balancing Clip Levels Before Adding Effects
- Simulating Spaces with Reverb
- Saving a Customized Preset
- Mixing and Matching Time-Based Plug-Ins
- Creating Physical Sound Barriers with EQ
- Working with Foley Sound Effects
- Using a Sync Point for Precision Alignment
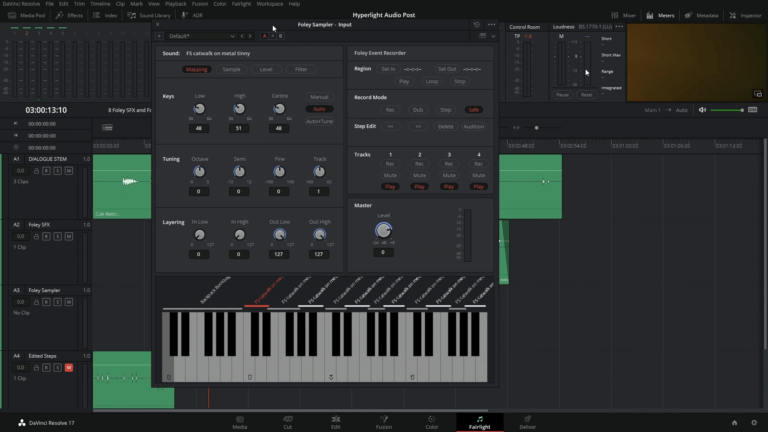
- Exploring the Foley Sampler
- Adding Sound Effects to the Foley Sampler
- Modifying Sample Mapping
- Manually Mapping and Splitting Additional Sounds
- Recording Foley Sampler Footsteps to Picture
- Finishing the Foley Footsteps with a Little Sound Design
- Using Transients to Quickly Split Clips
- Analyzing Finished Foley Effects
LESSON 09 · 28min
Creating Sound Effects
- Creating Original Sound Effects
- Designing a Heart Monitor Sound Effect
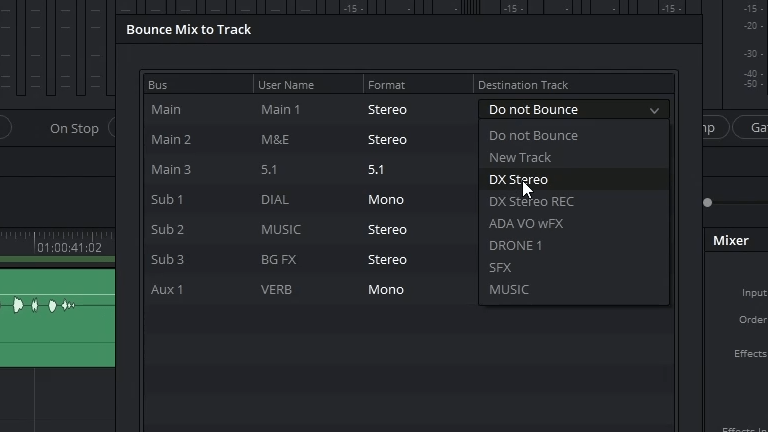
- Bouncing the Mix to a New Track
- Changing Clip Names
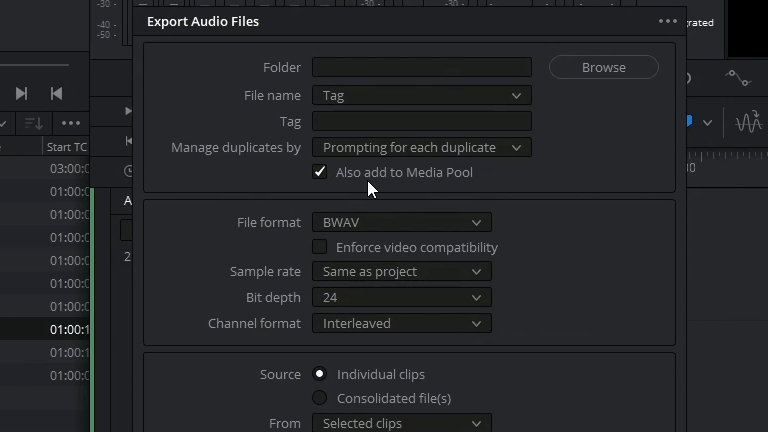
- Bouncing a Clip to File
- Transforming Noise into Atmospheric Sound Effects
- Creating a Computer Background Warble with the Flanger Plug-In
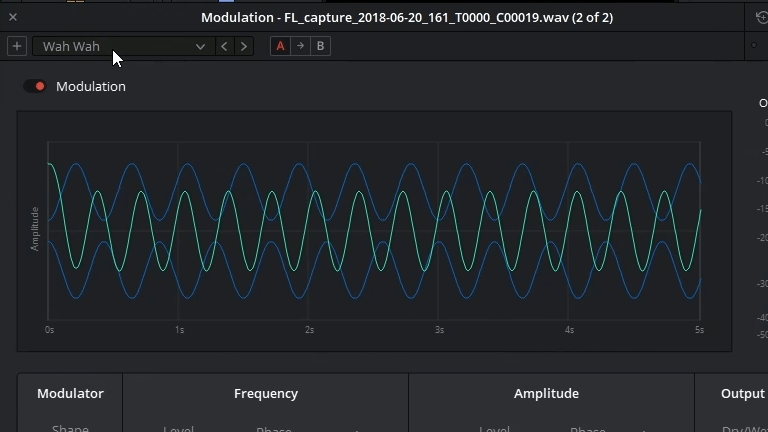
- Exploring the 4-in-1 Modulation Plug-In
- Analyzing Multilayered Sound Effects
- Build Your Own Interactive Computer Display Sound Effect
LESSON 10 · 22min
Pre-Mixing Levels and Panning Tracks
- Preparing the Project
- Using Reference Tracks to Set Monitoring Levels
- Customizing the Interface
- Evaluating and Setting Initial Track Levels
- Finding the Right Balance between Two Background Tracks
- Linking Tracks for Single-Fader Control
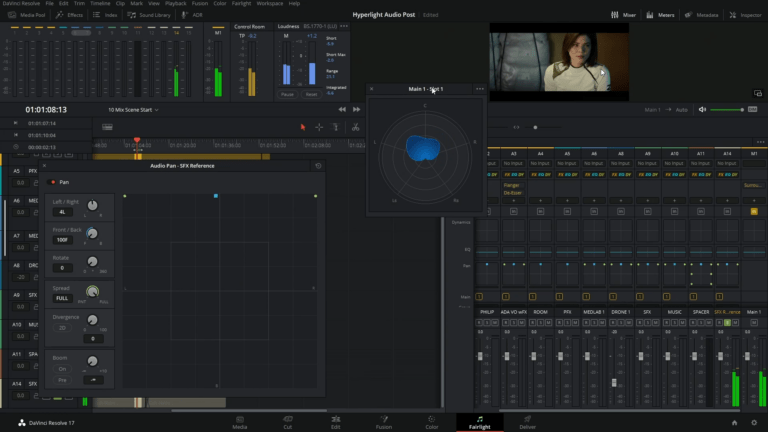
- Placing Audio in the Panoramic Sound Field
- Controlling a Track’s Stereo Spread
- Exploring 3D Pan Controls
- Controlling Stereo Spread Using the Stereo Width Plug-In
- Stereo Spread
LESSON 11 · 18min
Sweetening the Mix
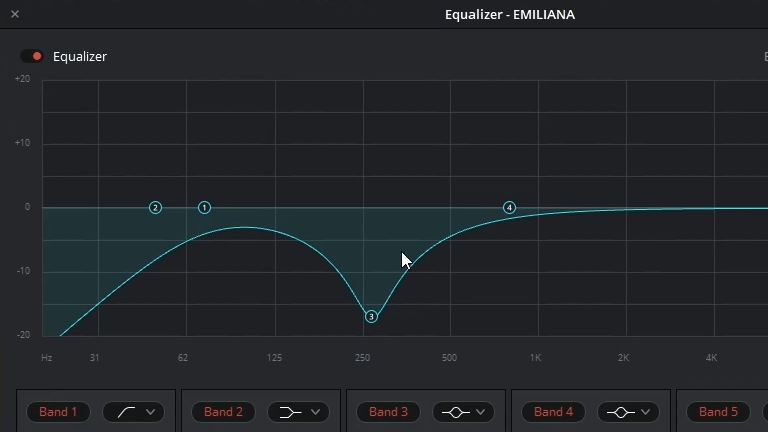
- Applying Equalization to Dialogue Tracks
- Sweetening Dialogue with EQ
- Controlling Dynamic Range
- Compressing Dialogue Tracks
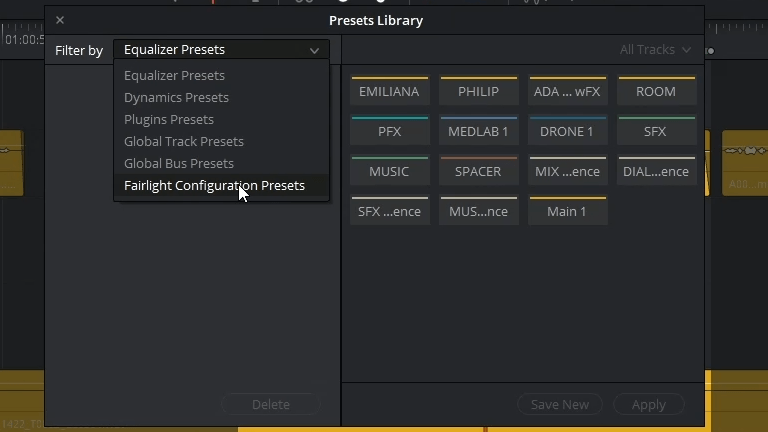
- Saving and Applying Track Presets in the Presets Library
- Using Sidechain Compression to Automatically Dip Music Levels
- Applying EQ Carving to Improve Dialogue Clarity
LESSON 12 · 21min
Simplifying the Mix with Buses
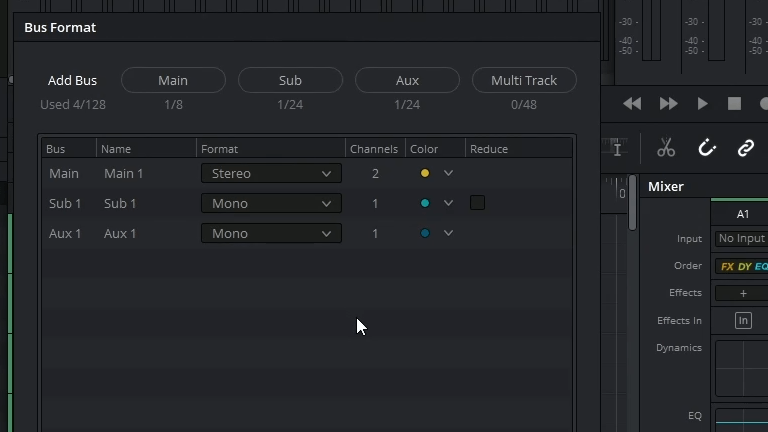
- Exploring the Fairlight Busing Formats
- Changing the Project Bus Format
- Preparing the Project
- Creating an Auxiliary Reverb Bus
- Sending Track Signals to the Aux Bus
- Customizing Auxiliary Bus Effects Parameters
- Simplifying Mixing Using Buses
- Assigning Tracks to Submix Buses
- Working with Buses in the Mixer
- Monitoring Multiple Outputs and Buses
- Creating Additional Output Buses
- Assigning the Music and Effects Tracks
- Exploring FlexBus Mapping
- Assigning Tracks and Buses
- Splitting the Main Output Bus to Another Bus
LESSON 13 · 16min
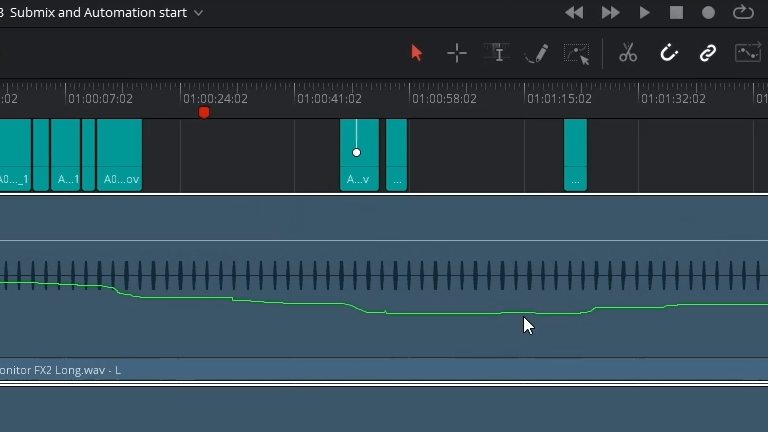
Mixing with Automation
- Preparing the Project
- Automating Track Changes
- Automating Pan Controls
- Automating Plug-Ins
- Working with Bus Tracks in the Timeline
- Copying and Pasting Automation
- Moving Automation with Clips
- Showing the Loudness History Curves in the Main 1 Bus Track
- Massaging the Mix
LESSON 14 · 12min
Finishing and Delivering Tracks
- Preparing the Project
- Bouncing Mixes in the Fairlight Page
- Monitoring Loudness in Your Mix
- Bouncing Tracks and Buses to Create Stems
- Bouncing to Additional Formats
- Renaming and Bouncing Stems as Multichannel Files
- Recording a Dialogue Stem
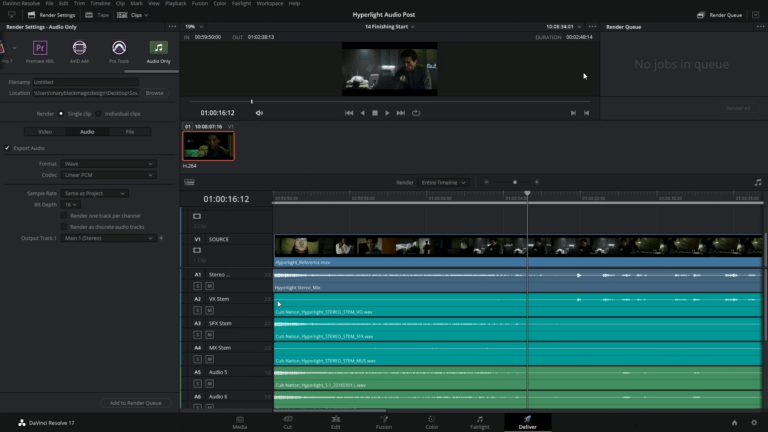
- Delivering the Mix
- Audio Finishing with Mixed Stems
- Panning Multichannel Mono Tracks
- Delivering a Custom Clip
LESSON 15 · 13min
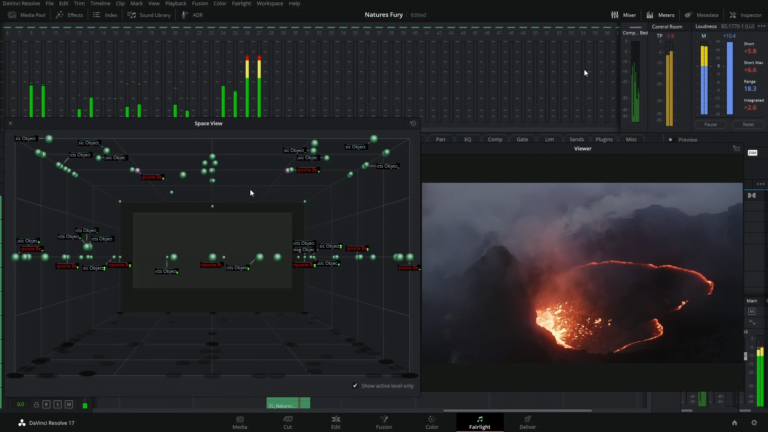
Exploring Dolby Atmos Integration
- Preparing the Project
- Importing and Adding Files to the Timeline
- Changing the Playback Format
- Rendering Downmixes
- Analyzing and Normalizing Levels
- Exploring Delivery Options
- Importing a Dolby Atmos Master
- Identifying Bed, Object, and VCA Groups
- Revealing Auto-Patching to the Internal Dolby Atmos Renderer
- Syncing Video From an A/V Source Clip
- Changing the Monitoring Format
- Showing the Dolby Atmos Renderer Settings
- Viewing “Flying Object” Pan Automation
- Showing Panning Automation in the Timeline
- Visualizing Flying Objects with the Fairlight Space View Scope
- Creating a Dolby Atmos Timeline Preset
- Exporting Master File
- Enabling Dolby Atmos for Mixing
- Applying a Configuration Preset

Once upon completing the course you’re welcome to take the certification exam free of charge! Successfully passing the exam Blackmagic Design’s will issue you a DaVinci Resolve Fairlight certification.
FAIRLIGHT
CERTIFICATION COURSE
Official training on DaVinci Resolve Fairlight audio tools. The Fairlight Certification Course consists of a full curriculum to help you become proficient in operating the Fairlight tools or brush up on your overall expertise. Whatever path you choose, you’ll gain industry-recognized skills!
LEVEL
Beginner
LESSONS
15
DURATION
8 hours