There are a couple of different ways that we can copy a color grade from clip to clip and project to project. Throughout this article we will highlight the different tools we have available to copy all of our nodes efficiently to speed up the overall process of color grading a project.
We’ll start off with copying a color grade from one clip to the other clip on the same timeline in the same project. As you can see in the image below the clip number 01 has a rainbow box and number 02 has a grey box, the rainbow indicate that the clip has a correction applied to that clip AKA a color grade.
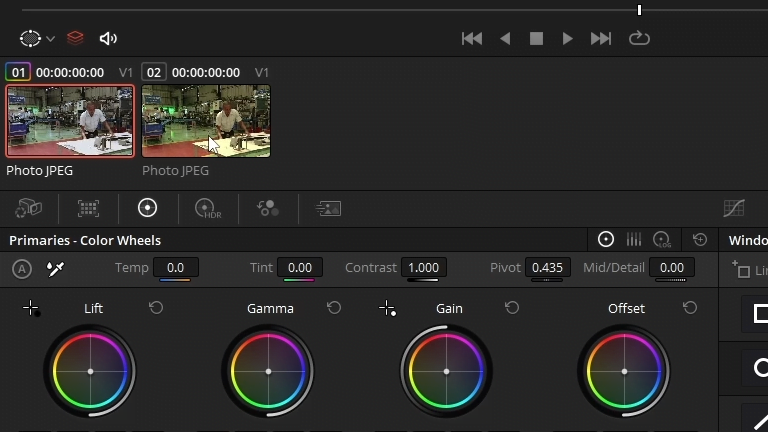
The easiest way to copy a color grade from one shot to the other is to have the shot that will be receiving the color grade selected, this is indicated by a red box around the thumbnail and then using your middle Mouse button over the thumbnail of the shot you want to copy from.
After hitting your mouse button over the clip you want to copy the color grade from all of the nodes from that source clip will be copied over to the selected clip. You any number of clips selected at the same time to be the destination for the color grade.
Having a copy of all of the nodes allows you the ability to make fine adjustments on a per-share basis in case any of the shots need extra attention. This ability to have fine adjustments wouldn’t be possible if we were to add a lot or a color grade over the top of all of the clips.
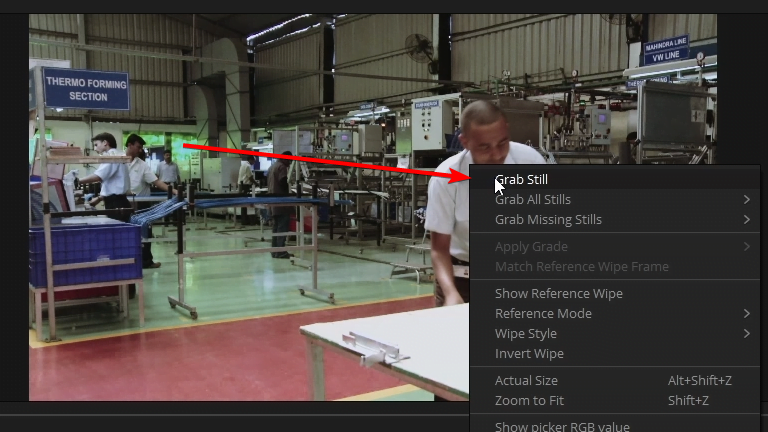
If you wanted to save the color grade in a library instead of having to go back and forth through the clip View you can do that by using a function called grab still.
By right clicking on the image in the viewer you get a drop-down with an option Grab Still
If you open up your gallery you will now see a new thumbnail of the still you grabbed. the gallery Library contains thumbnails of the Stills in which you grabbed as well as the corrections applied to that clip to produce the still.
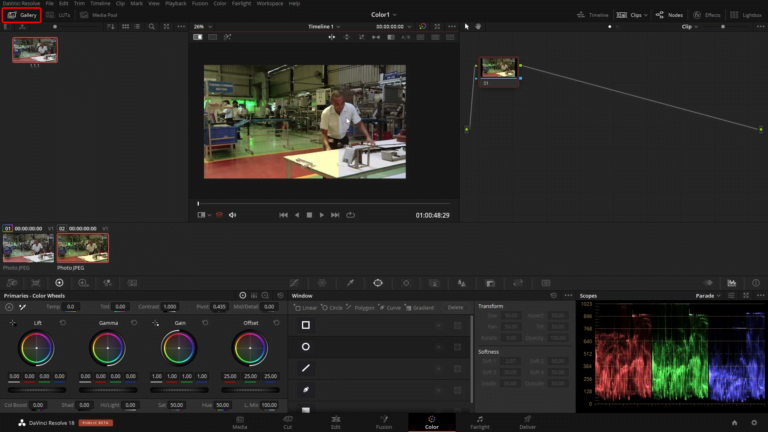
This is a great way to build multiple color grades and easily preview them on any active clip in your timeline by hovering over them in the gallery.
Up to this point we have copying a whole grade from one clip to another clip. Sometimes copying the whole color grade isn’t necessary, for an example we might have gone through the project already and color corrected everything but haven’t finalized a color grade.
If we were to use the middle mouse button function it’s going to wipe away all of the nodes we already have in place for these clips and replace them with whatever were copying which wouldn’t really be favorable. To keep our corrections and use some of the nodes from our saved color grades in the gallery we can use a function to preview the nodes associated with each still in the gallery.
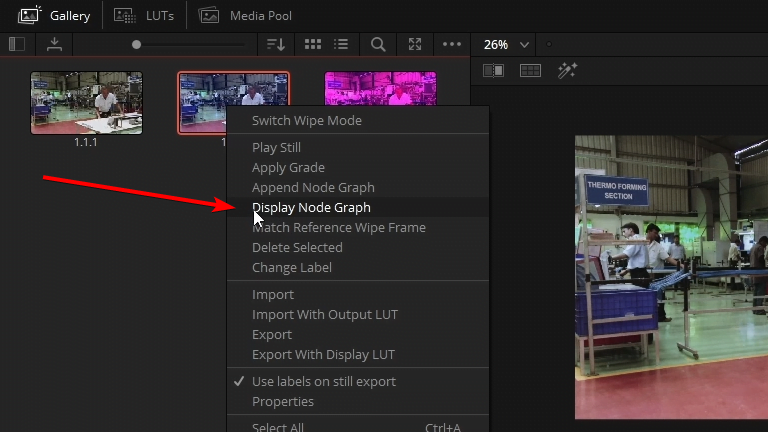
This is pop up a window showing all the nodes used to create that color grade.
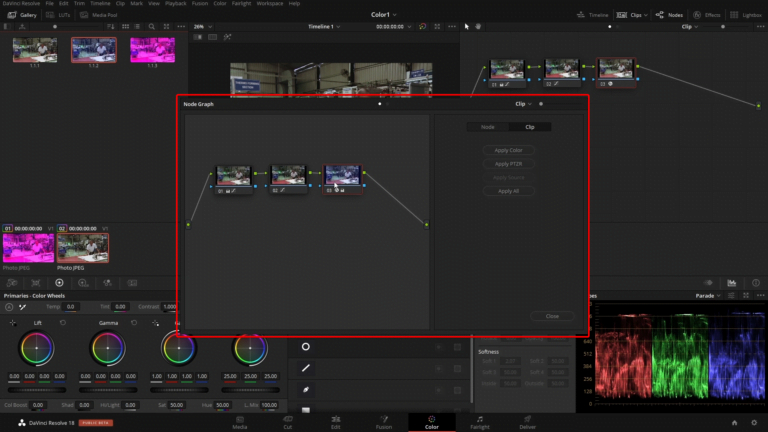
We can copy the nodes we want from this window into our node for the clip we are working on. Use ctrl+c or command+c to copy and ctrl+v or command+v to paste.
By default when we grab a still it’s going to be added into a stills album, this album is shared with all of the timelines in this project. If you wanted to make a library or album of stills that shared with all of your projects we will need to create with called a PowerGrade album.
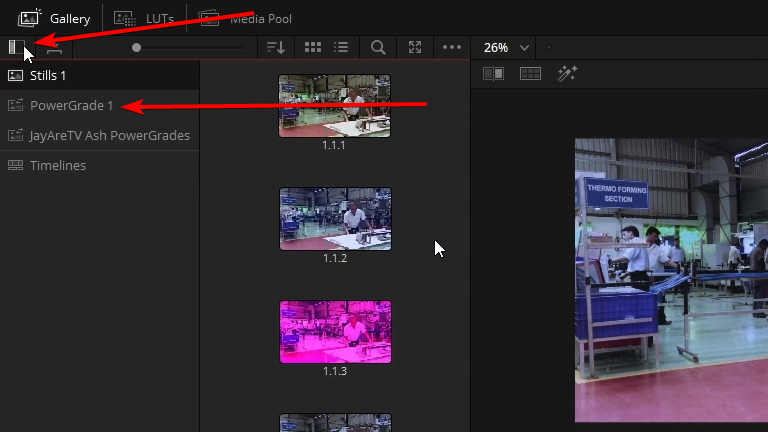
By default I believe there’s a PowerGrade album here but if you want to make additional PowerGrade album you can by just right clicking in this area and add a new one in.
You can tell the stills icon and the PowerGrade icon are slightly different the PowerGrade icon has left and right arrows.
Anything saved in the PowerGrade album can be viewed in other projects within the project library.


