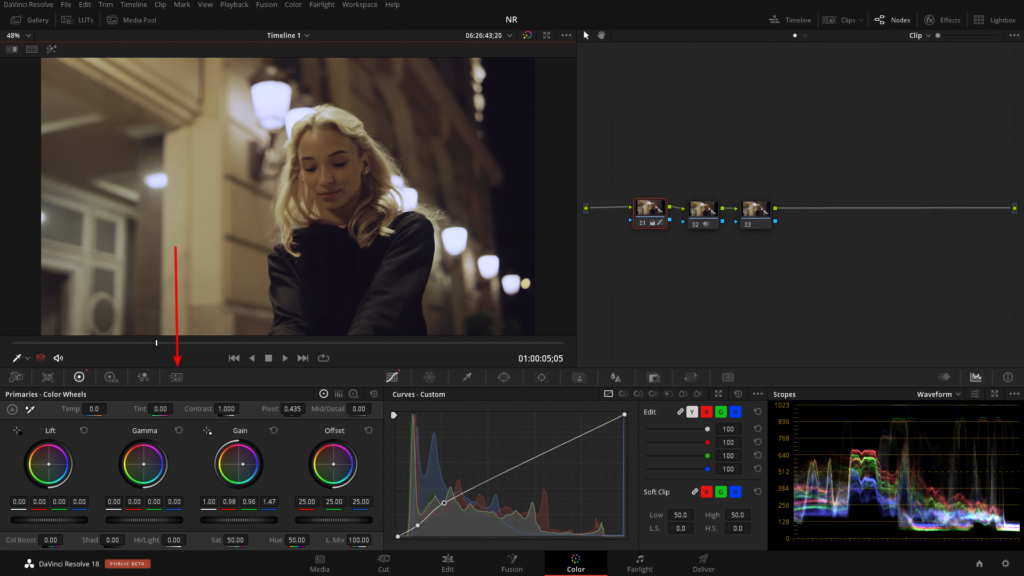
Noise Reduction Controls
Two sets of parameters let you apply GPU-accelerated Temporal and/or Spatial noise reduction that’s designed to let you subdue noise in problematic clips, in close to real time on workstations with
appropriate processing power. Both methods of noise reduction can be used separately or together,
in varying amounts depending on the needs of the particular material you’re working on. Furthermore,
each set of controls is highly customizable, allowing for varying amounts of noise reduction to the
chroma and luma of an image, as well as numerous options for how to apply this noise reduction.
Temporal NR Controls
The Temporal NR controls analyze images across multiple frames in order to isolate noise from detail.
Motion estimation settings let you exclude moving subjects from this operation in order to prevent unwanted motion artifacts.
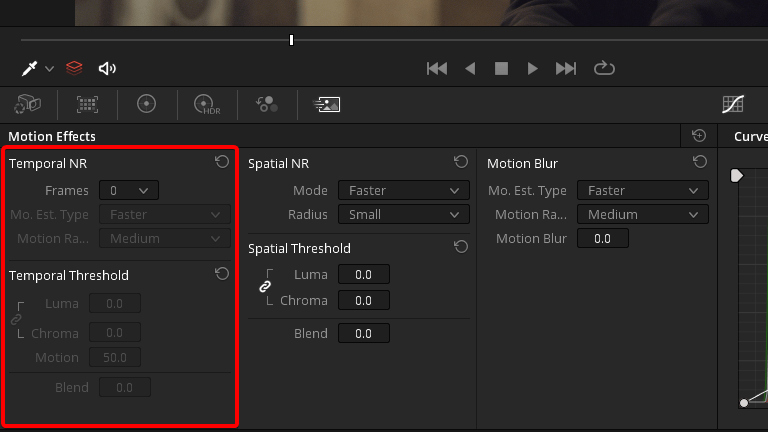
Number of Frames
The number of frames you want DaVinci Resolve to average in order to separate
detail from the noise. You can choose between 0 and 5 frames. 0 applies no frame averaging, higher
values apply more frame averaging, at the expense of being significantly more computationally
intensive the higher a value you use. Also, a higher frame setting will yield a better analysis, but may
yield unwanted artifacts if there are fast-moving images in the frame. A value of 1 may yield better
results for fast-moving images. If you need to use higher frame values but you see artifacts, you can
also try adjusting the Motion Threshold to fix the issue.
Motion Est. Type
Picks the method DaVinci Resolve uses to detect motion in the image. The default, Faster, is less processor intensive, but less accurate. Choosing Better can effectively exclude motion more accurately, but is more processor intensive. None lets you disable motion estimation altogether, with the result being the application of Temporal NR to the entire image.
Motion Range
Three settings, Small, Medium, and Large, let you set the speed of motion that Motion Estimation should expect to exclude. A Small setting assumes slow-moving subjects with little or no motion blur, allowing Temporal NR to affect more of the image at a given Motion Threshold setting. A Large setting assumes fast motion with blur occupying a larger area of the image, which excludes more of the image from Temporal NR at the same Motion Threshold setting. Choose the setting that gives you the best compromise between a reduction in noise and the introduction of motion artifacts when adjusting the Motion Threshold parameter.
Luma Threshold
Lets you determine how much or how little Temporal NR to apply to the luma component of the image. The range is 0–100, where 0 applies no noise reduction at all, and 100 is the maximum amount. Too high a setting may eliminate fine detail from the image.
Chroma Threshold
Lets you determine how much or how little Temporal NR to apply to the chroma component of the image. The range is 0–100, where 0 applies no noise reduction at all, and 100 is the maximum amount. Too high a setting may eliminate fine color detail from the image, although you may find you can raise the Chroma Threshold higher than the Luma Threshold with less noticeable artifacting.
Luma/Chroma Threshold ganging
Ordinarily, the Luma and Chroma Threshold parameters are ganged together so that adjusting one adjusts both. However, you can ungang these parameters in order to adjust different amounts of noise reduction to each component of the image, depending on where the noise happens to be worst.
Motion Threshold
Defines the threshold separating which moving pixels are in motion (above this threshold) versus which moving pixels are static (below this threshold). Using Motion Estimation, Temporal Noise Reduction is not applied to regions of the image that fall above this threshold, in order to prevent motion artifacts by not applying frame-averaging to parts of the image that are in motion. Lower values omit more of the image from Temporal NR by considering more subtle movements. Higher values apply Temporal NR to more of the image by requiring faster motion for exclusion. You can choose between 0 and 100, where 0 applies Temporal NR to no pixels, and 100 applies Temporal NR to all pixels. The default value is 50, which is a suitable compromise for many clips. Be aware that if you set too high a Motion Threshold, you may see artifacts in moving parts of the image.
NR Blend
Lets you dissolve between the image as it’s being affected by the Temporal NR parameters (at 0.0) and the image with no noise reduction at all (100.0). This parameter lets you easily split the difference when using aggressive temporal noise reduction.
Spatial NR Controls
The Spatial NR controls let you smooth out regions of high-frequency noise throughout the image, while attempting to avoid softening by preserving detail. It’s effective for reducing noise that Temporal NR can’t.
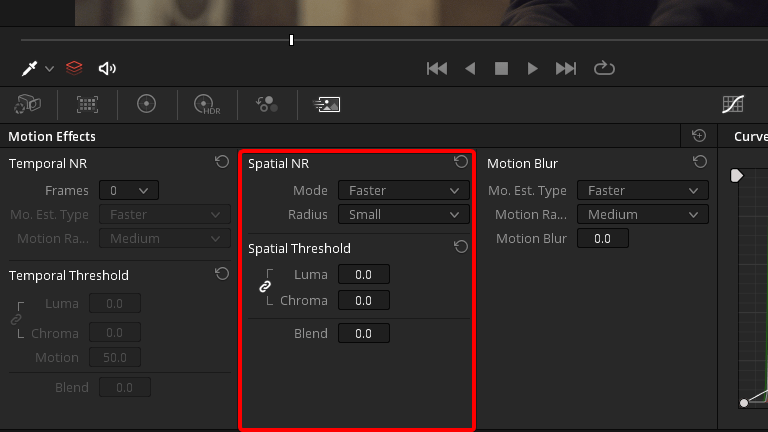
Mode
The Mode drop-down lets you switch Spatial NR between three different algorithms. All three modes of operation use exactly the same controls, so you can switch between modes using the same settings to compare your results.
— Faster: Uses a computationally lightweight method of noise reduction that’s good at lower settings, but may produce artifacts when applied at higher values.
— Enhanced: Does a significantly better job of preserving image sharpness and detail when raising the Spatial Threshold sliders to eliminate noise. This improvement is particularly apparent when the Spatial Threshold sliders are raised to high values (what constitutes “high” varies with the image you’re working on). At lower values, the improvement may be more subtle when compared to the “Better” mode, which is less processor intensive than the computationally expensive “Enhanced” setting. Additionally, “Enhanced” lets you decouple the Luma and Chroma threshold sliders so you can add different amounts of noise reduction to each color component, as the image requires.
Radius
Options include Large, Medium, and Small. A smaller radius offers greater real time performance, and can provide good quality when using low Luma and Chroma Threshold values. However, you may see more aliasing in regions of detail when using low NR Threshold values. Setting Radius to be progressively larger results in higher quality within areas of greater visual detail at high Luma and Chroma Threshold values, at the expense of slower performance. An NR Radius of Medium should provide suitable quality for most images when using medium NR Threshold settings. As with many operations, there’s an adjustable tradeoff between quality and speed.
Luma Threshold
Lets you determine how much or how little noise reduction to apply to the luma component of the image. The range is 0–100, where 0 applies no noise reduction at all, and 100 is the maximum amount. Too high a setting may eliminate fine detail from the image.
Chroma Threshold
Lets you determine how much or how little noise reduction to apply to the chroma component of the image by smoothing out regions of high-frequency noise while attempting to preserve the sharpness of significant edge details. The range is 0–100, where 0 applies no noise reduction at all, and 100 is the maximum amount. Too high a setting may eliminate fine color detail from the image, although you may find you can raise the Chroma Threshold higher than the Luma Threshold with less noticeable artifacting.
Luma/Chroma Threshold ganging
Ordinarily, the Luma and Chroma Threshold parameters are ganged together so that adjusting one adjusts both. However, you can ungang these parameters in order to adjust different amounts of noise reduction to each component of the image. For example, if an image softens too much at a certain level of noise reduction, but you find there’s more color speckling than there is luma noise, you can lower the Luma Threshold to preserve detail while raising the Chroma Threshold to eliminate color noise.
NR Blend
Lets you dissolve between the image as it’s being affected by the Spatial NR parameters (at 0.0) and the image with no noise reduction at all (100.0). This parameter lets you easily split the difference when using aggressive spatial noise reduction.


