What is the AI Voice Converter?
At its core, the AI Voice Converter works by combining a voice model (which defines the target voice’s characteristics) with a separate audio recording that acts as the “performance driver.” This means the tool takes the way someone speaks in the driver audio (the rhythm, emphasis, timing) and applies the sound of the voice model to it.
This tool is incredibly useful for several reasons:
- Enhance Voice Tracks: It can enhance voice tracks by giving them more depth or authority using a different model.
- Fix Problem Audio: If an audio recording is in less than ideal or noisy conditions, it’s even possible to change the actor’s voice entirely with a different one while maintaining perfect sync with the video.
- Preserve Performance: Crucially, the conversion keeps the original performance’s inflections, pitch variation, and emotional delivery intact.
How to Use the AI Voice Converter
Using the AI voice converter is quite straightforward. Here is the process:
Step 1: Select Your Clip
First, place the audio clip you wish to modify on the timeline and select it.
Step 2: Access the Tool
Access the tool in one of two ways:
- Right-clicking on the selected clip and choosing Voice Converter.
- Going to the top navigation bar: Clips > AI Tools > Voice Converter.
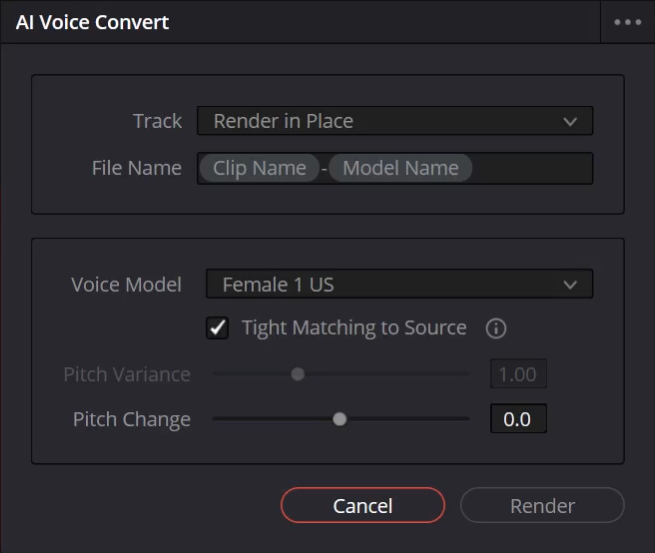
Step 3: Choose Output Location
Decide where the new audio should be placed. Click Render in Place to overwrite the original audio clip (this is non-destructive, so you can always revert), or select a separate track for the new audio.
Step 4: Name the Output Clip
A custom name can be entered, or metadata variables can be used. By default, it uses the original clip name combined with the name of the voice model selected.
Step 5: Select a Voice Model
Choose a voice model. DaVinci Resolve includes a few models, but custom models can also be created, as explained shortly.
Step 6: Adjust Customization Parameters
Since the performance is primarily driven by the source audio, there are only a couple of parameters to customize:
- Type Matching Source: Check this box to closely follow the pitch, intonations, and voice dynamics of the original source voice. Uncheck it to allow for a looser interpretation, using the Pitch Variance control.
- Pitch Variance: (Only active if “Type Matching Source” is unchecked). Lower values produce a more modern tone, while higher values introduce greater pitch variation.
- Pitch Change: Negative values create a deeper voice, while positive values create a higher voice.
Step 7: Render
Once settings are adjusted, hit Render. The conversion time depends on the duration and quality of the selected clips.
Step 8: Result
When completed, the new audio clip(s) will appear on the timeline and also in the Media Pool.
Step 9: Revert (If Needed)
To revert back to the original audio, simply right-click on the converted clip and select Revert to original voice.
Creating Your Own Custom Voice Model
One of the most powerful aspects is the ability to train custom voice models. Here’s the process:
Step 1: Gather Source Audio
First, gather assets to train the model. It is recommended to aim for about 10 minutes of high-quality, clean audio recordings of the target voice. Ensure this audio is free of significant background or ambient noise, and avoid any dynamics processing like compression. The material should sound natural and consistent. If intending to drive the model with varied performances, consider including a range of emotional expressions in the training data. Remember that AI is often like a sewer – what goes into it depends on what comes out!
Step 2: Select Clips in Media Pool
Once the prepared clips are ready, select all of them in the Media Pool.
Step 3: Access the Training Tool
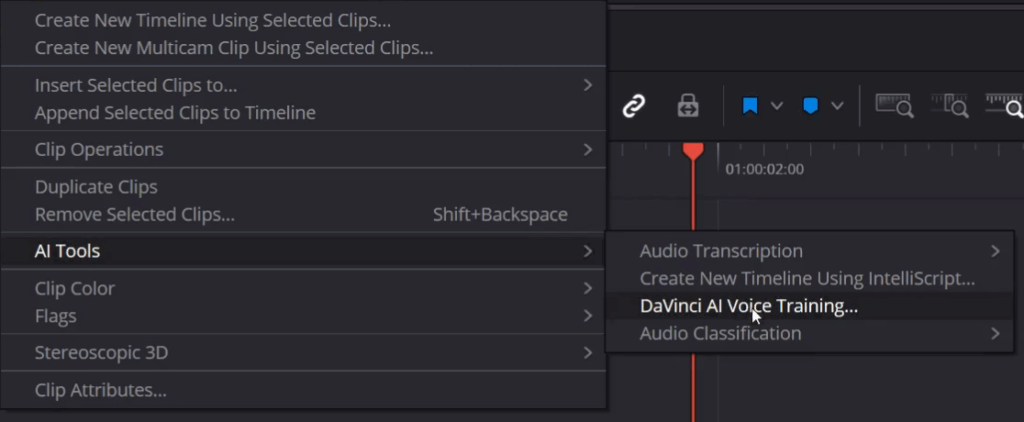
Right-click on the selection and navigate to AI Tools > DaVinci AI Tools > Voice Training.
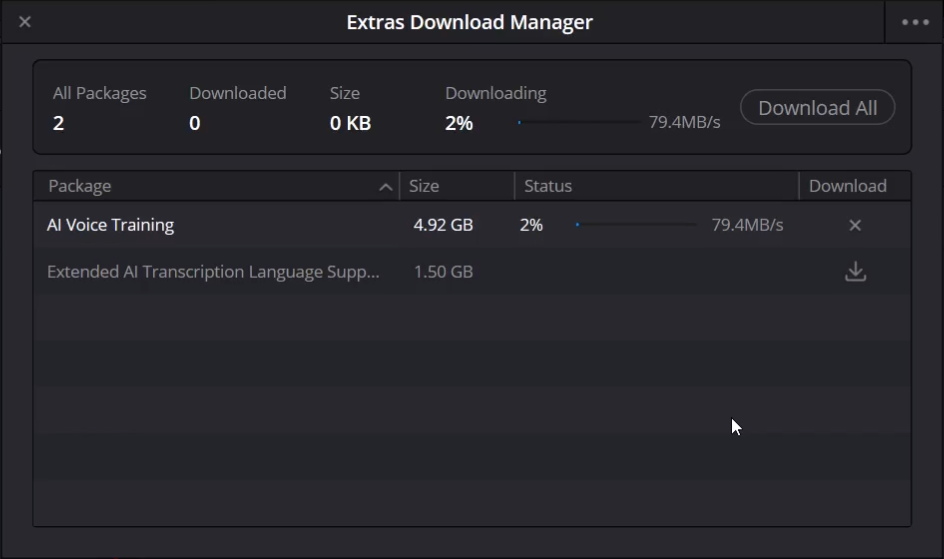
Step 4: Initial Setup (First Time)
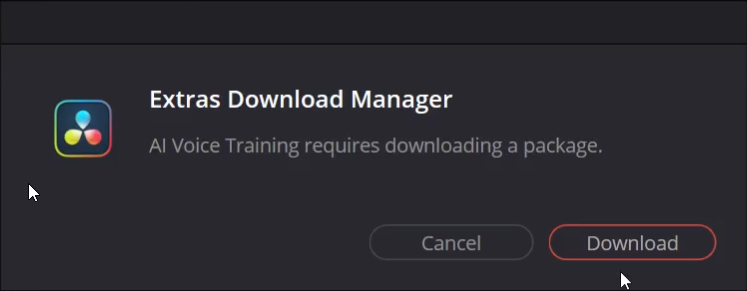
The first time using this feature, DaVinci Resolve might prompt the Resolve Extra Downloads manager to install necessary supported files. There is also typically an acceptance prompt acknowledging the AI’s capabilities – click accept.
Step 5: Name Your Model
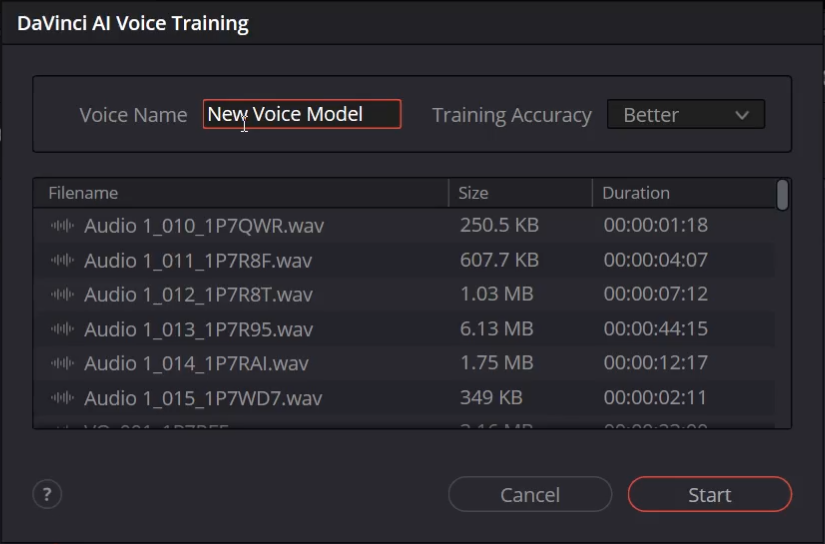
Next, add a clear, descriptive name for the new custom model.
Step 6: Choose Training Speed
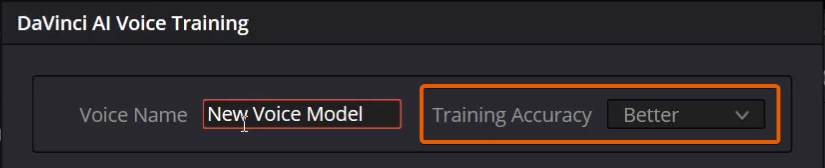
A “Faster” or “Better” option is presented. “Better” takes roughly three times as long as “Faster.” Processing times vary dramatically based on hardware; processing 10 minutes of audio in “Better” mode can take several hours depending on the system.
Step 7: Understand the Process
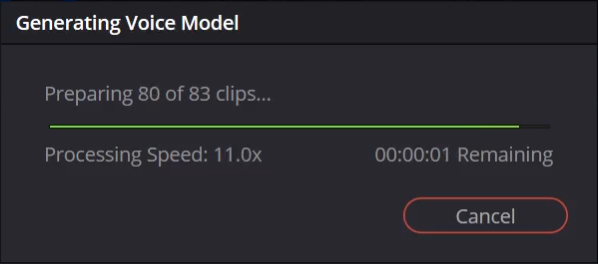
When starting the model creation, it begins in the foreground but quickly becomes a background process. This is beneficial as it allows continuing to work in DaVinci Resolve or other applications while the training completes. However, voice model generation is resource-intensive and could impact system performance while active.
Step 8: Monitor and Manage
While the voice model generation process is active, a small icon appears in the lower right-hand corner of Resolve. It is possible to pause or discard any ongoing process from here. If quitting DaVinci Resolve at any point, the background process pauses and automatically resumes the next time DaVinci Resolve is started.
Step 9: Using the New Model
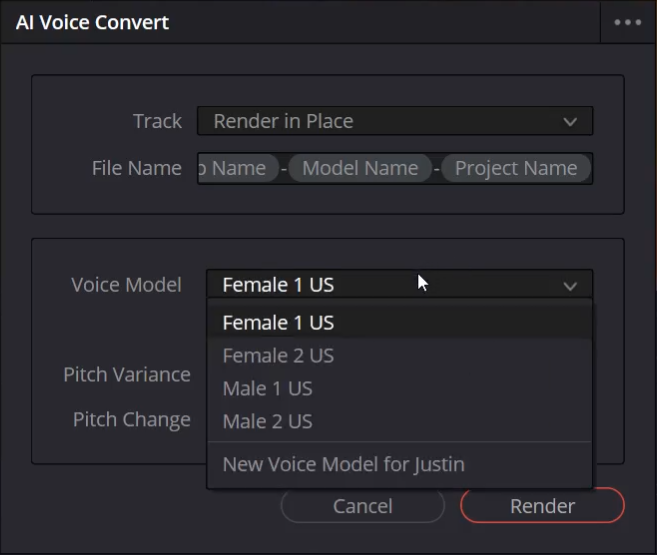
Once training is complete, the new custom voice model will be available within the Voice Convert voice model drop-down menu.
Privacy Considerations
An important point to note is that all of DaVinci Resolve’s AI Voice Convert processing occurs locally on the computer. Audio data is never uploaded or sent to an external server or cloud service for processing. This is true for both the voice conversion itself and the source material used for training custom voice models.
This covers the use of the AI voice converter feature and the process for making a custom voice model in DaVinci Resolve.


Start the discussion at postprolist.com